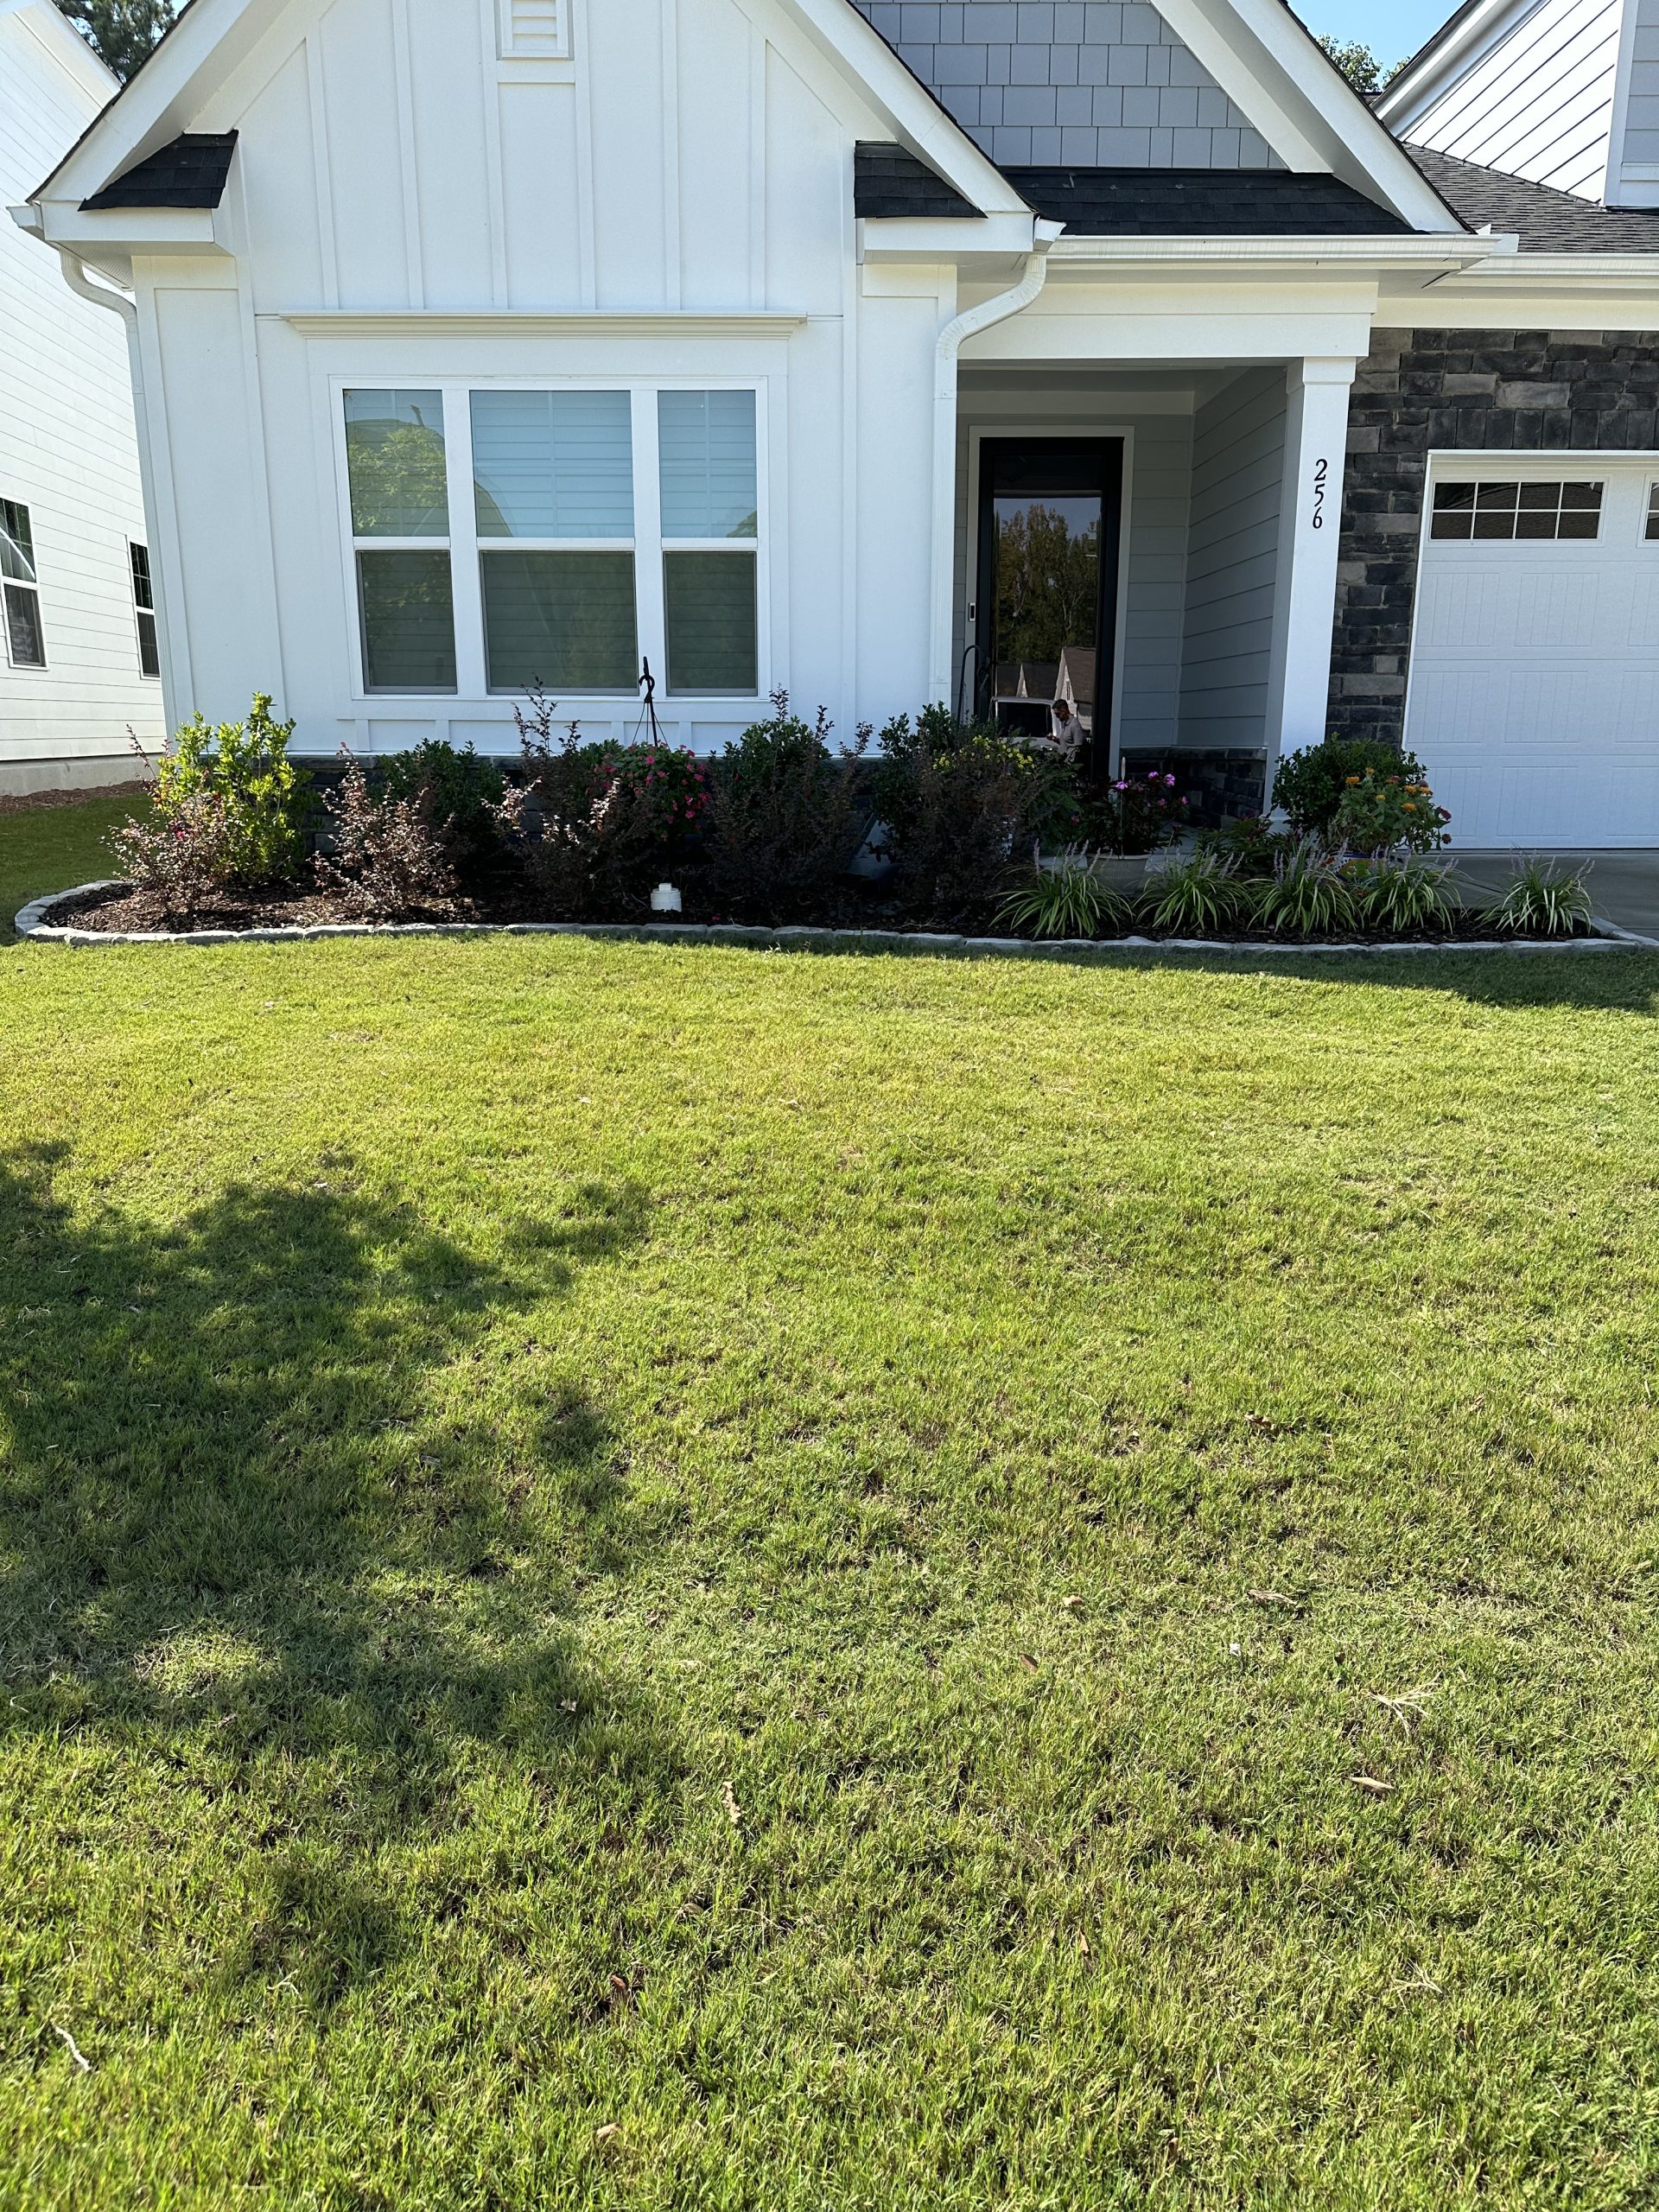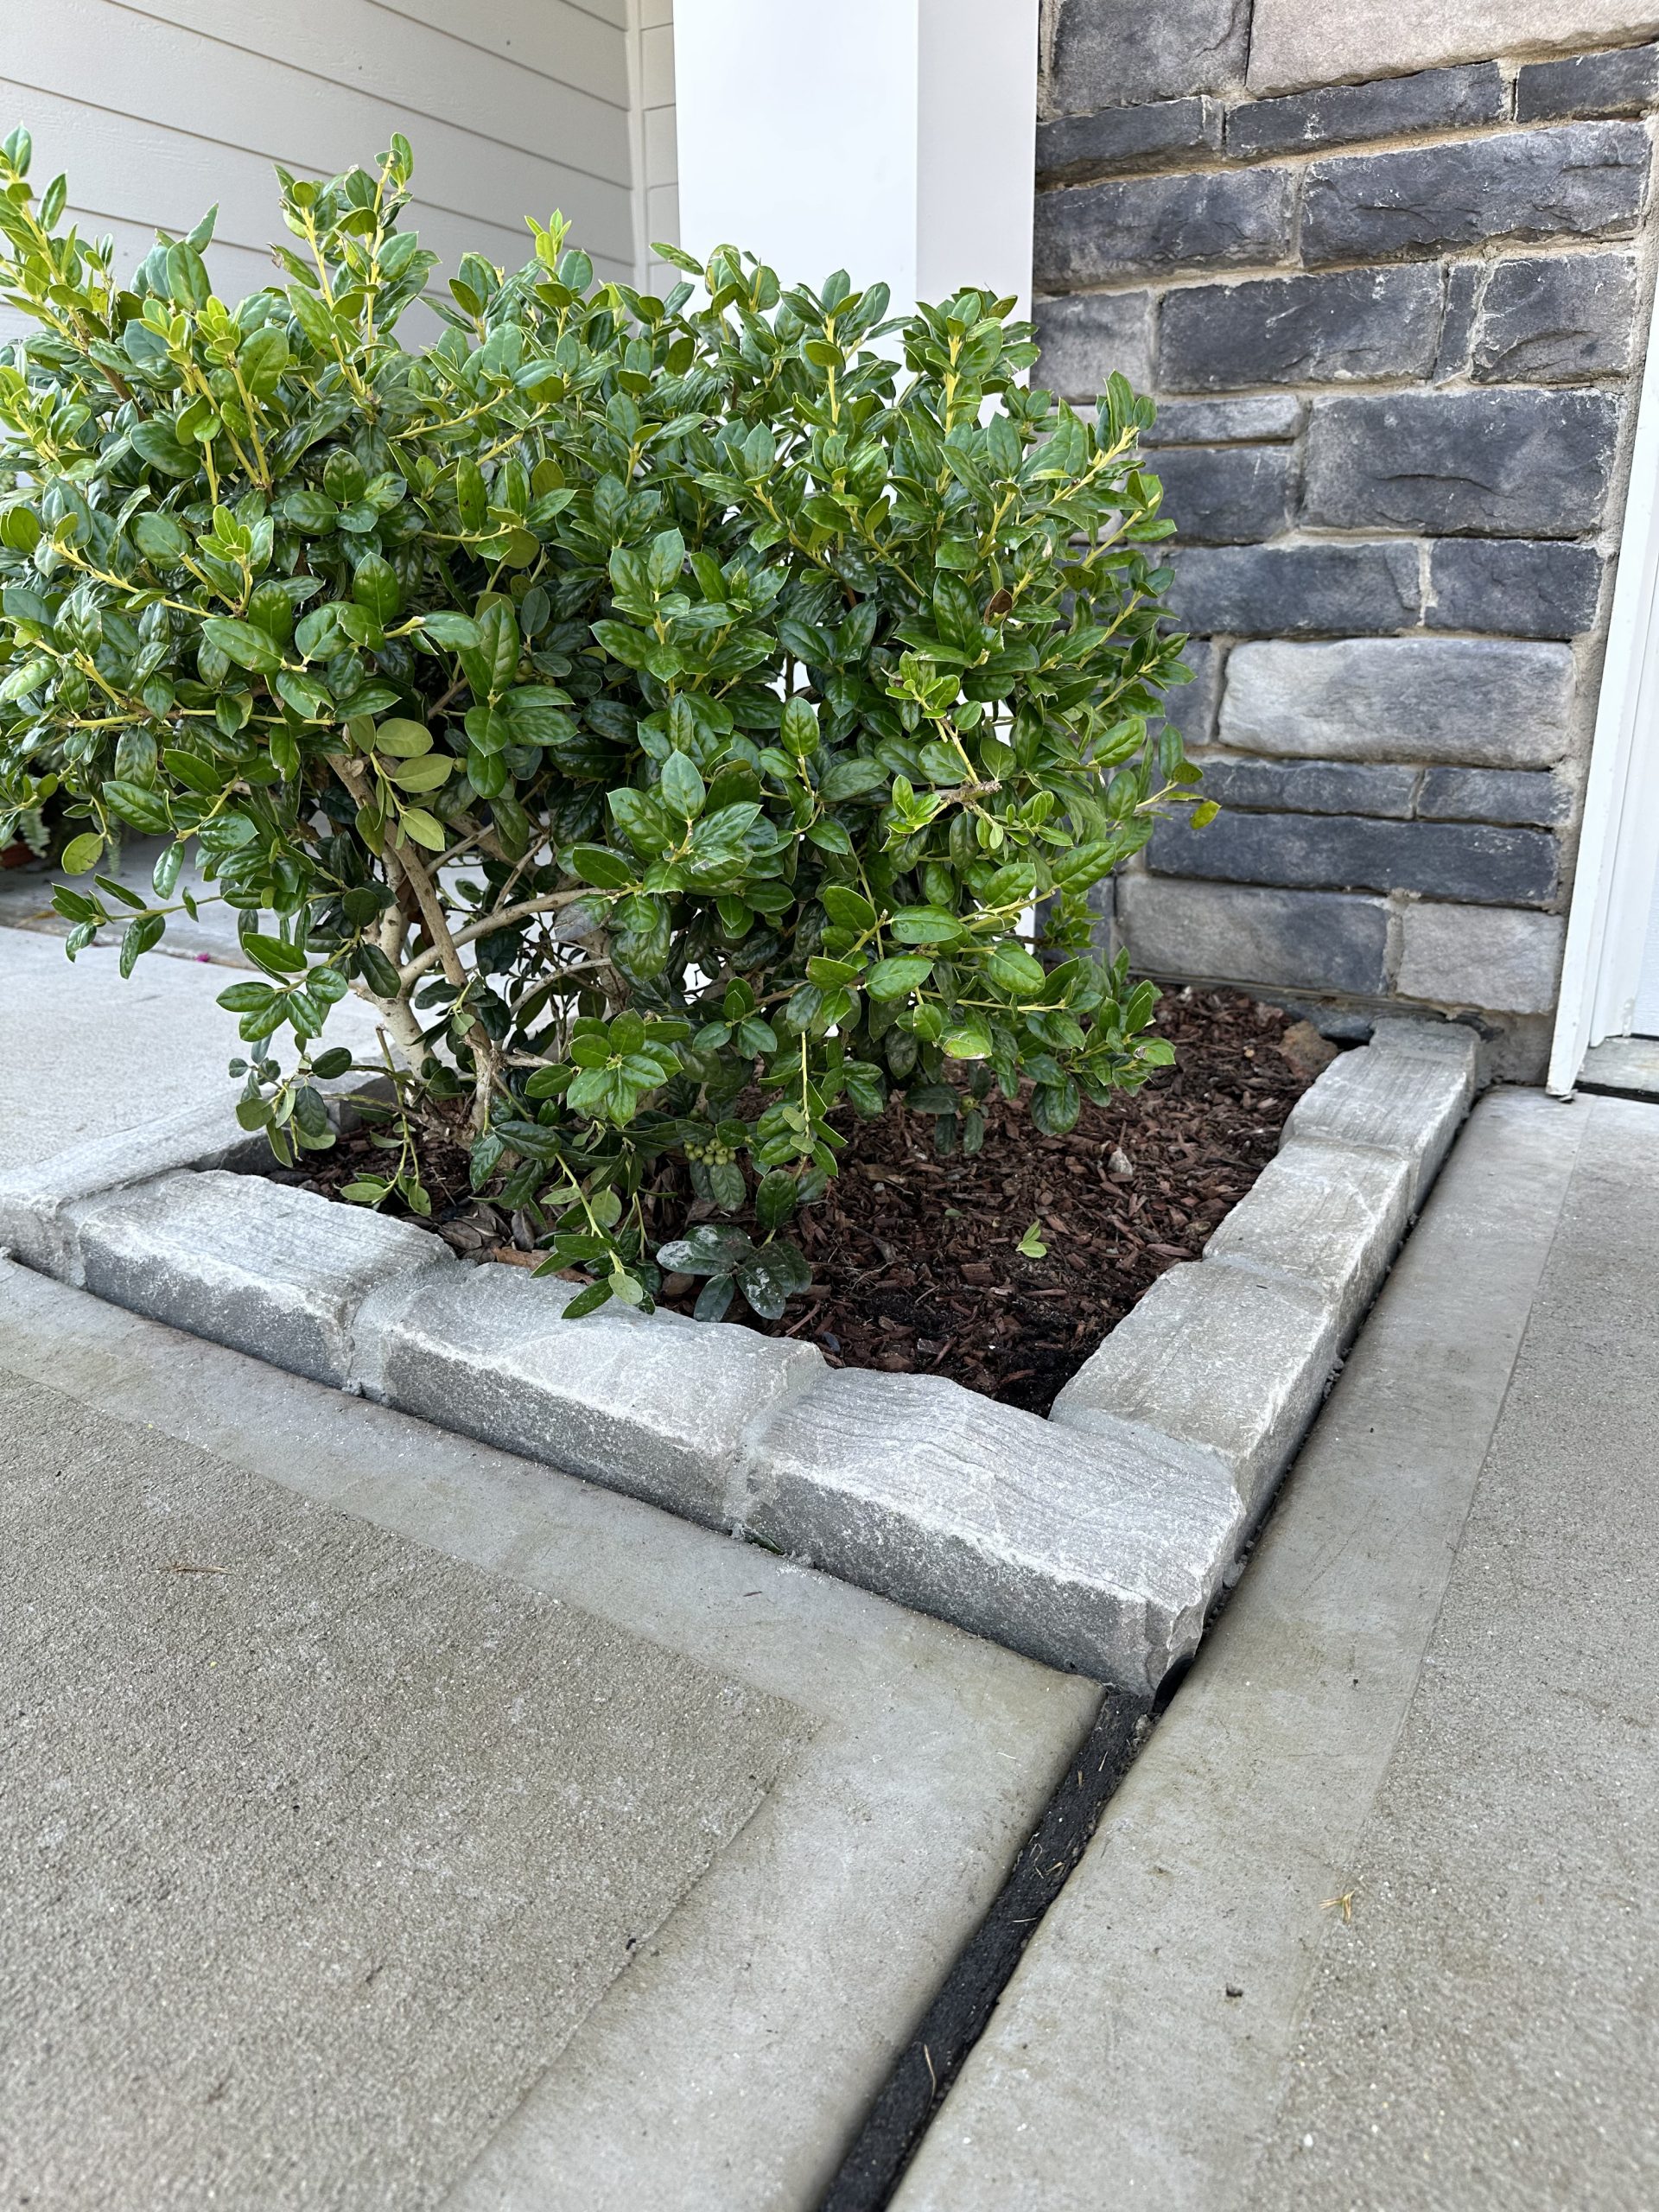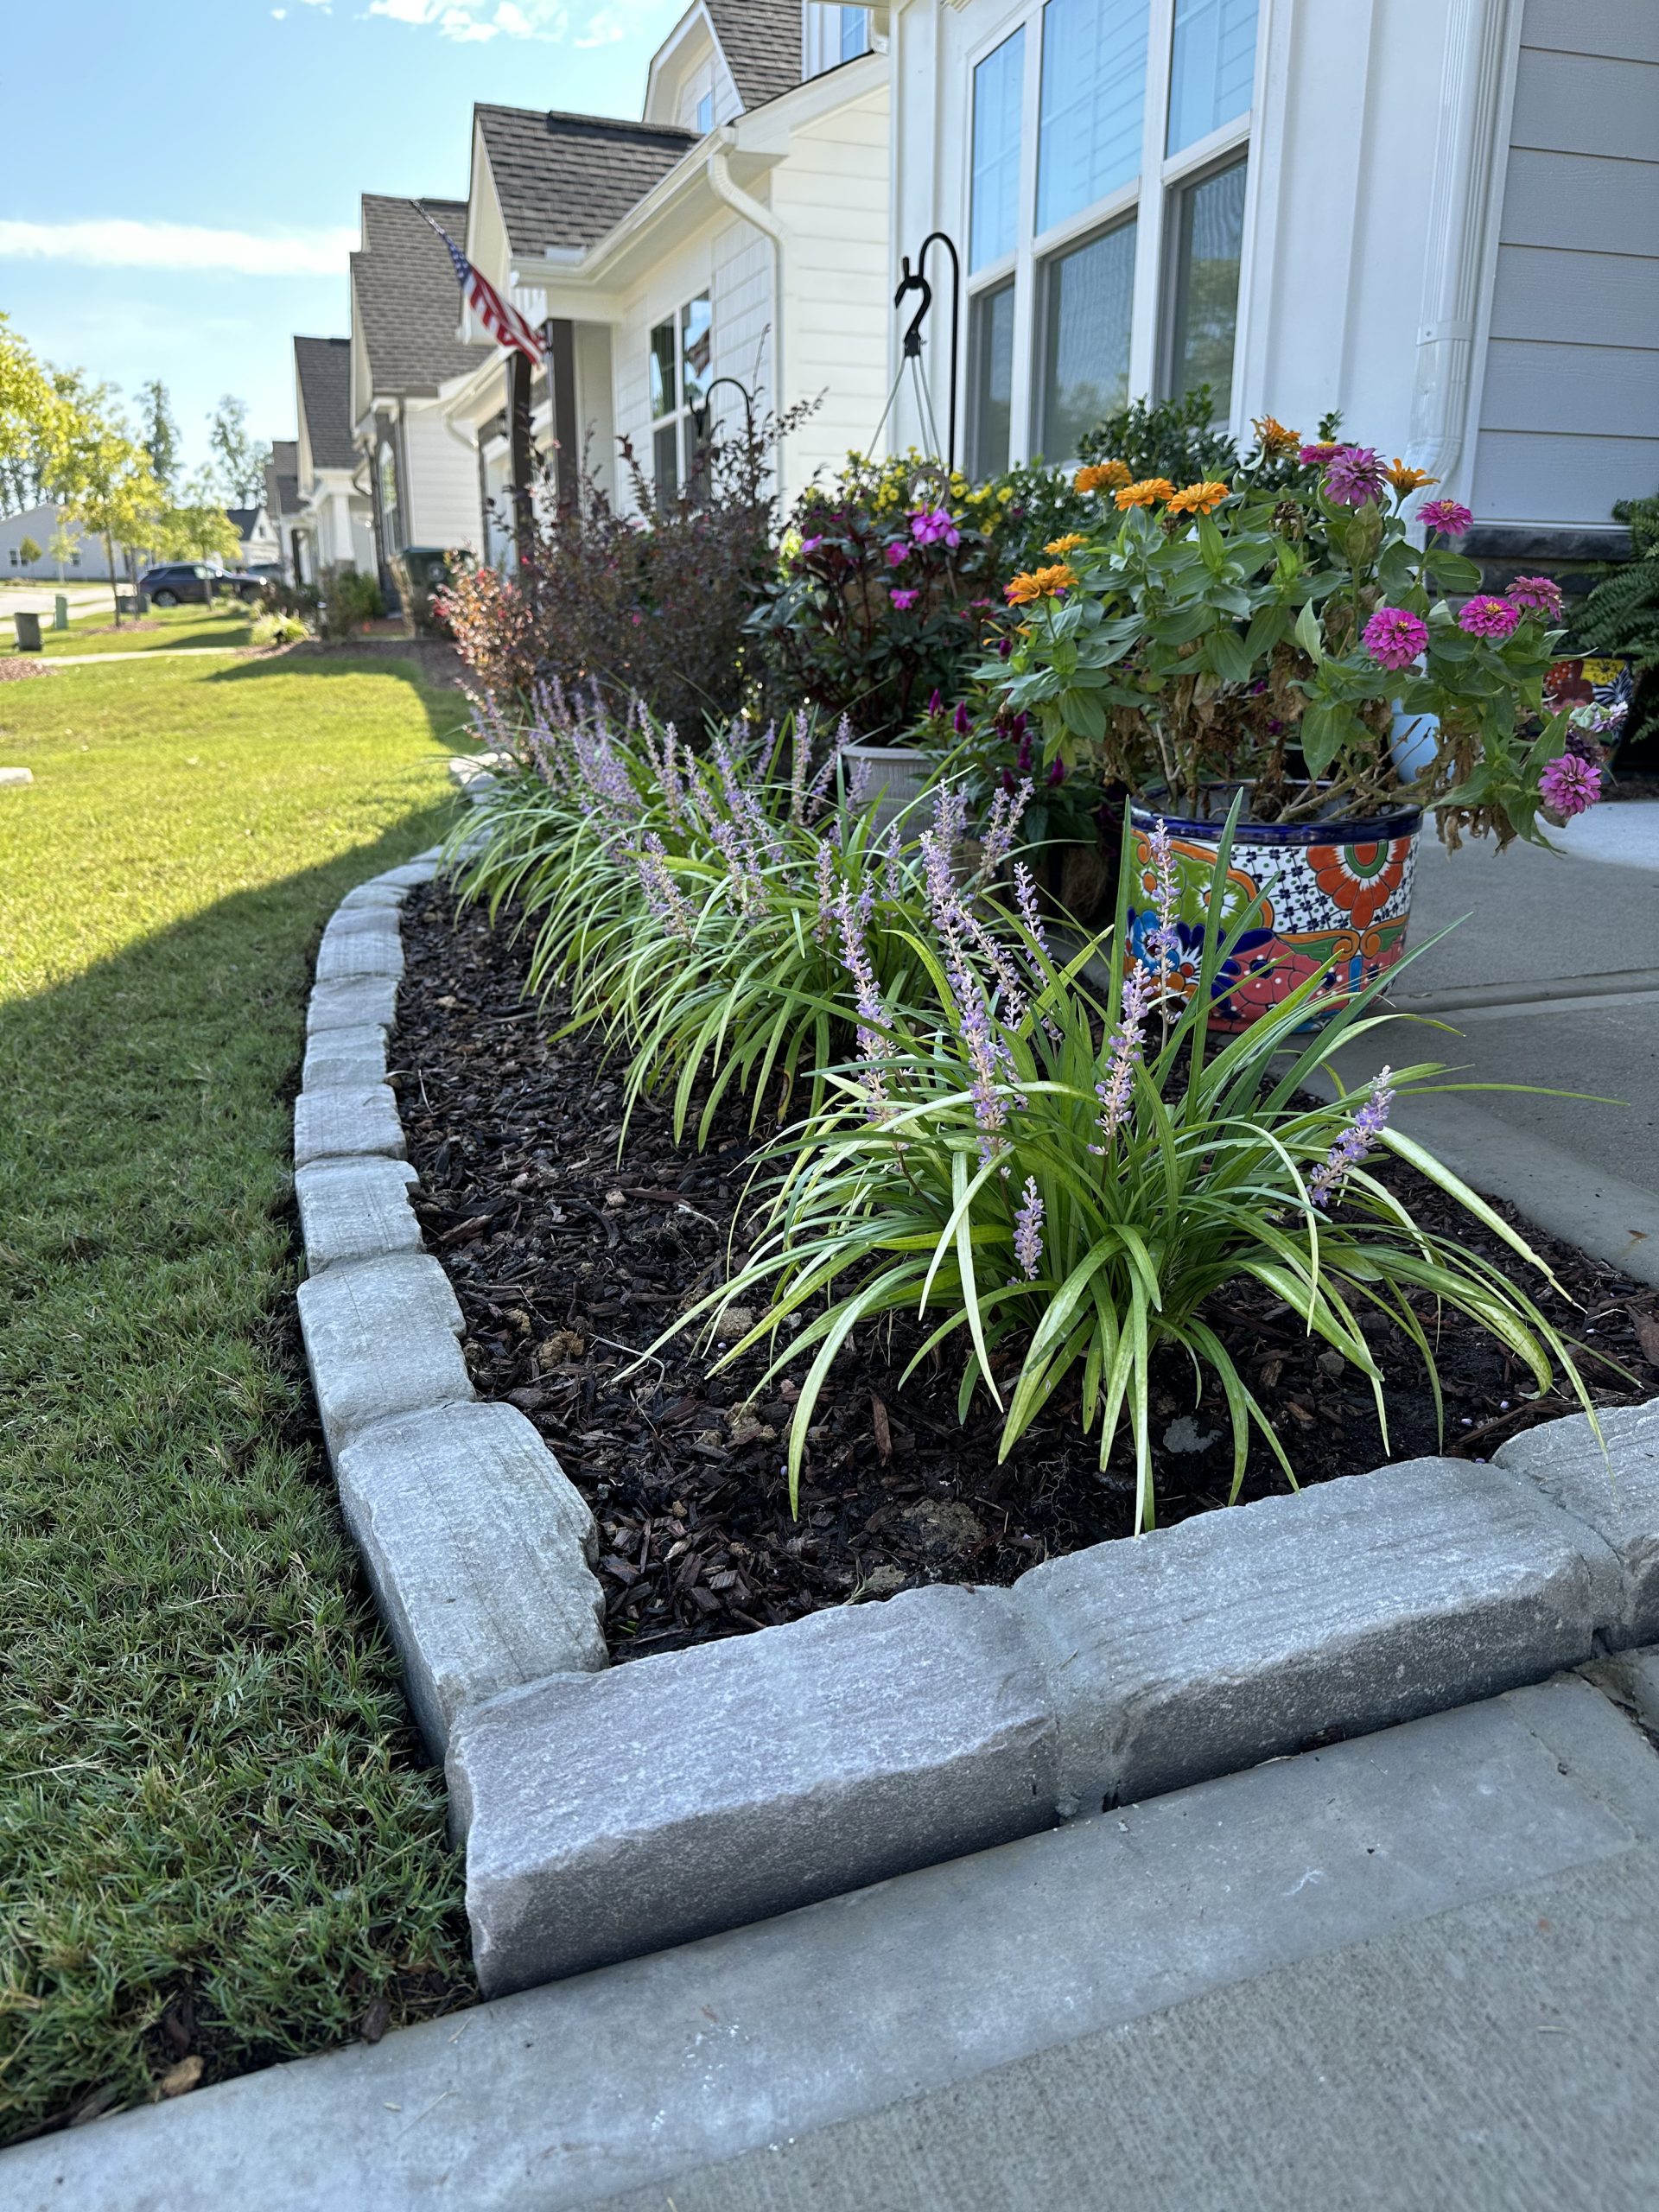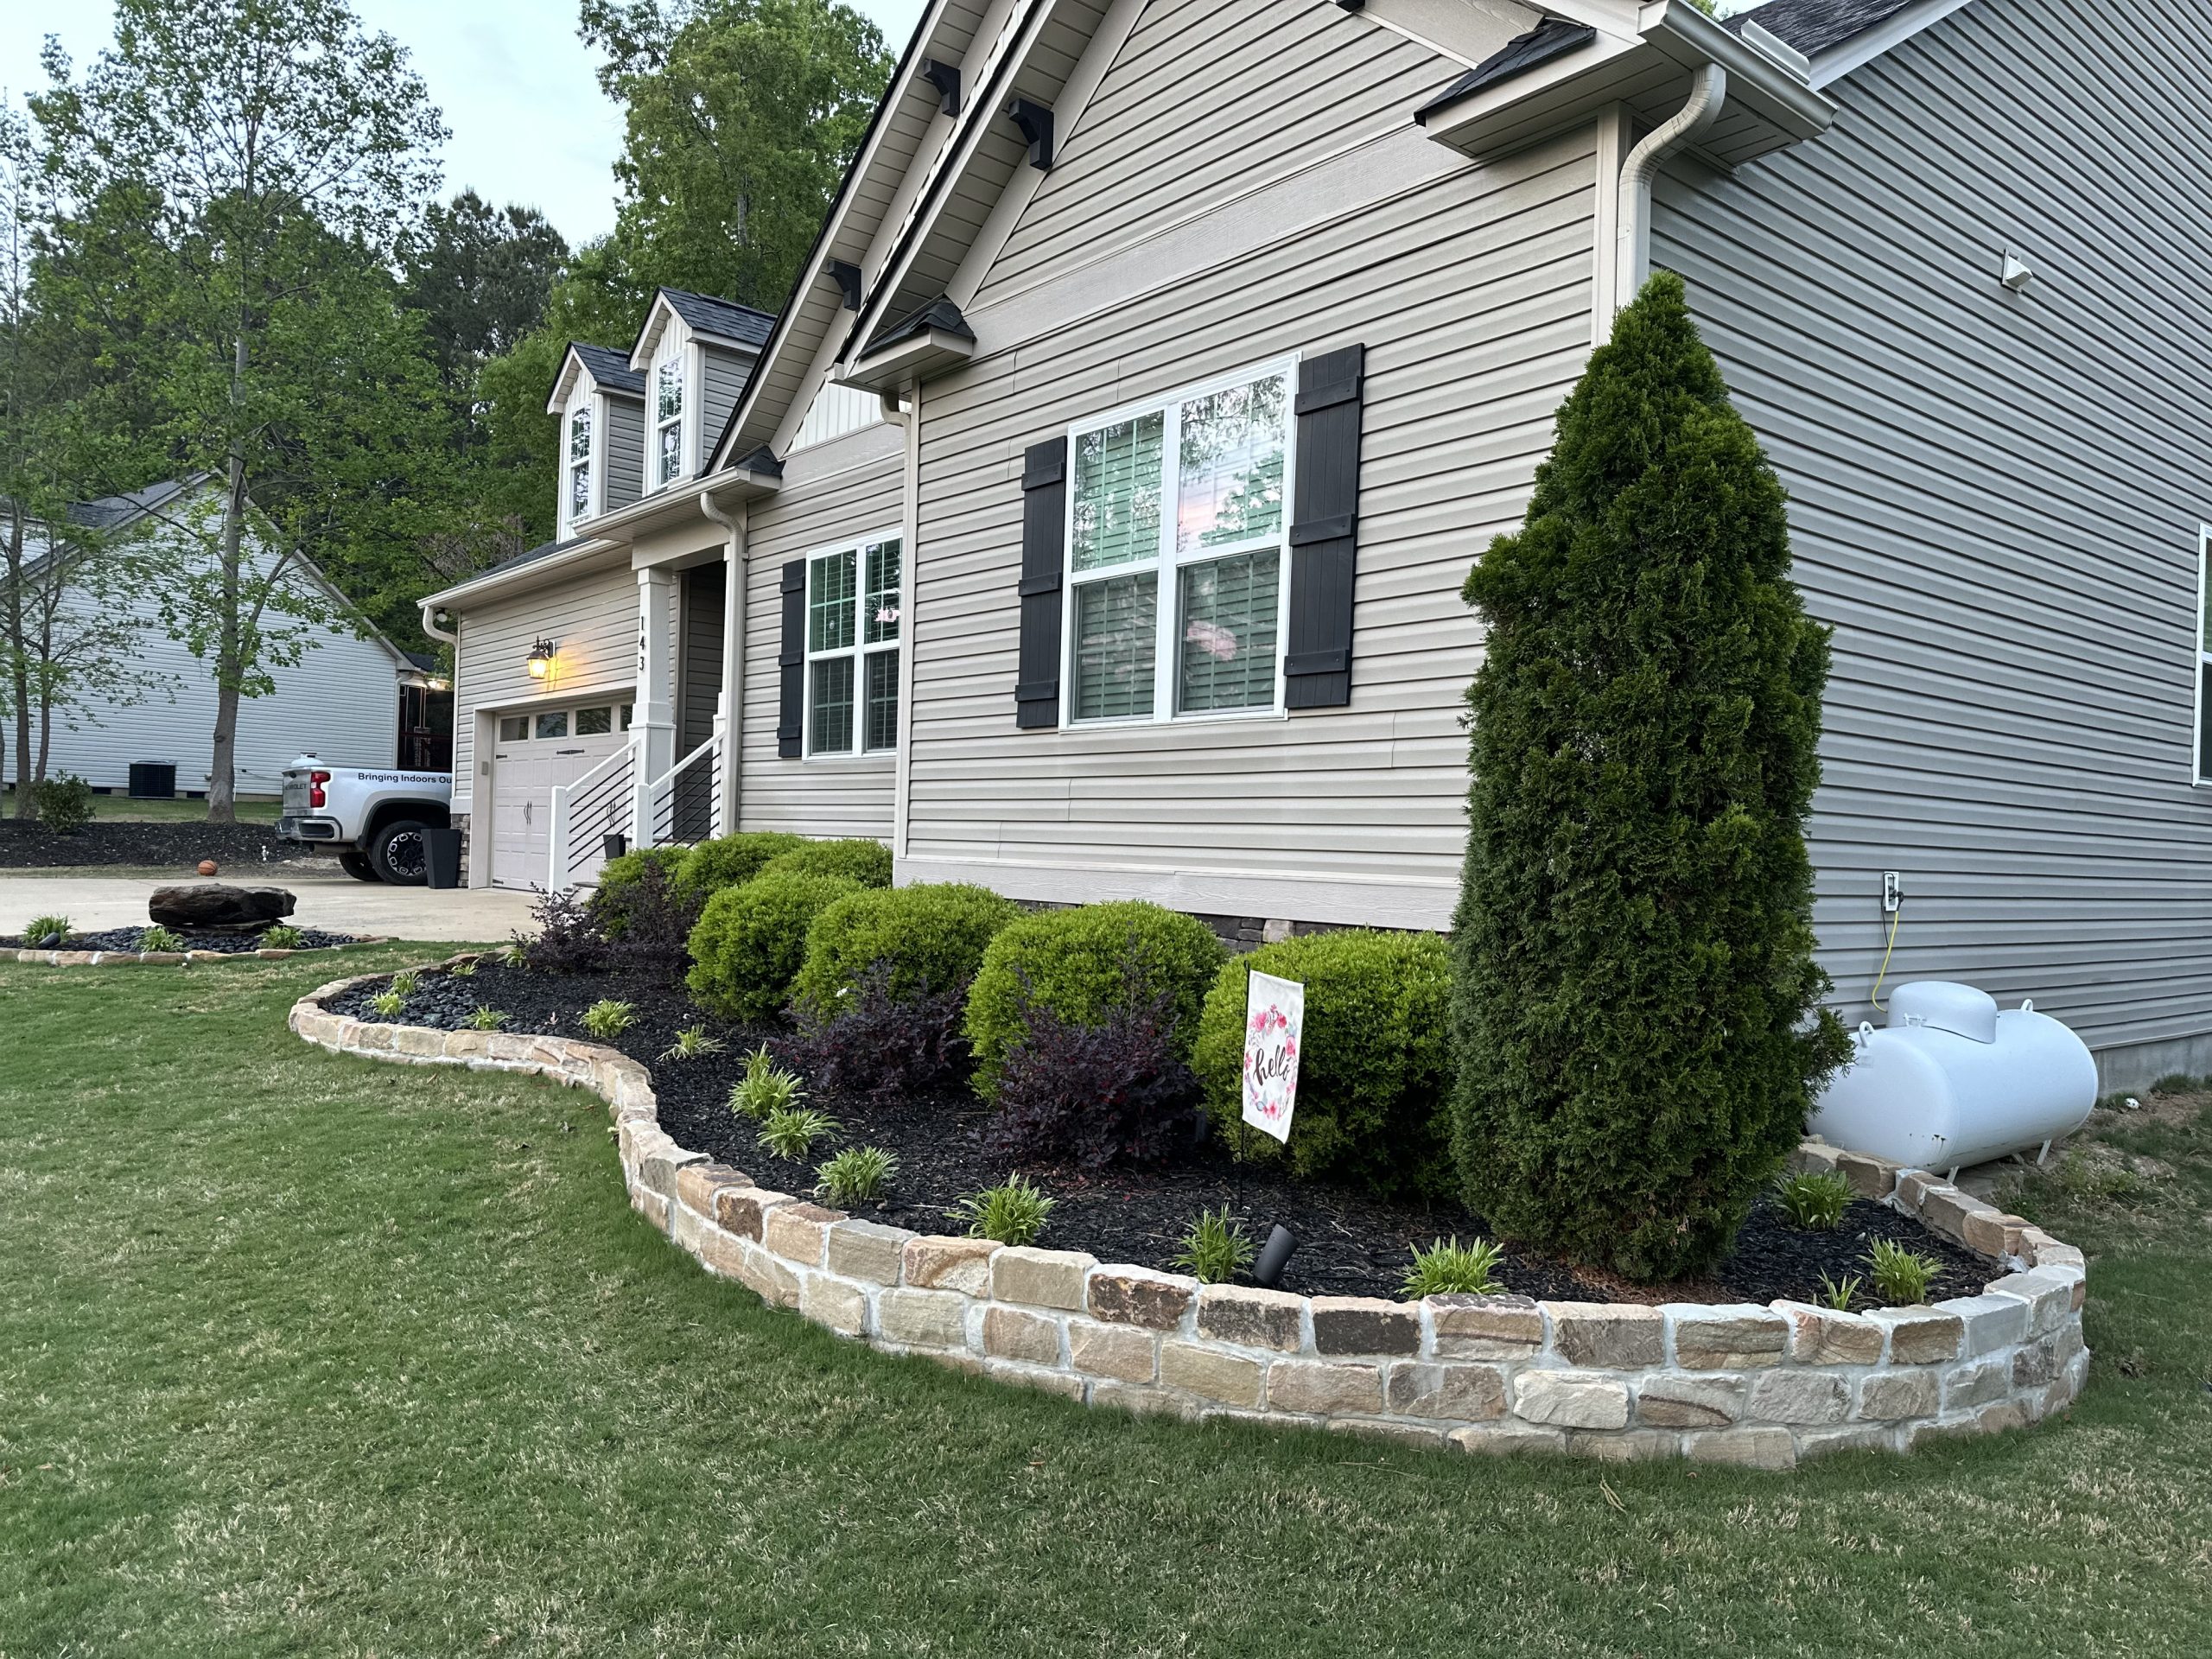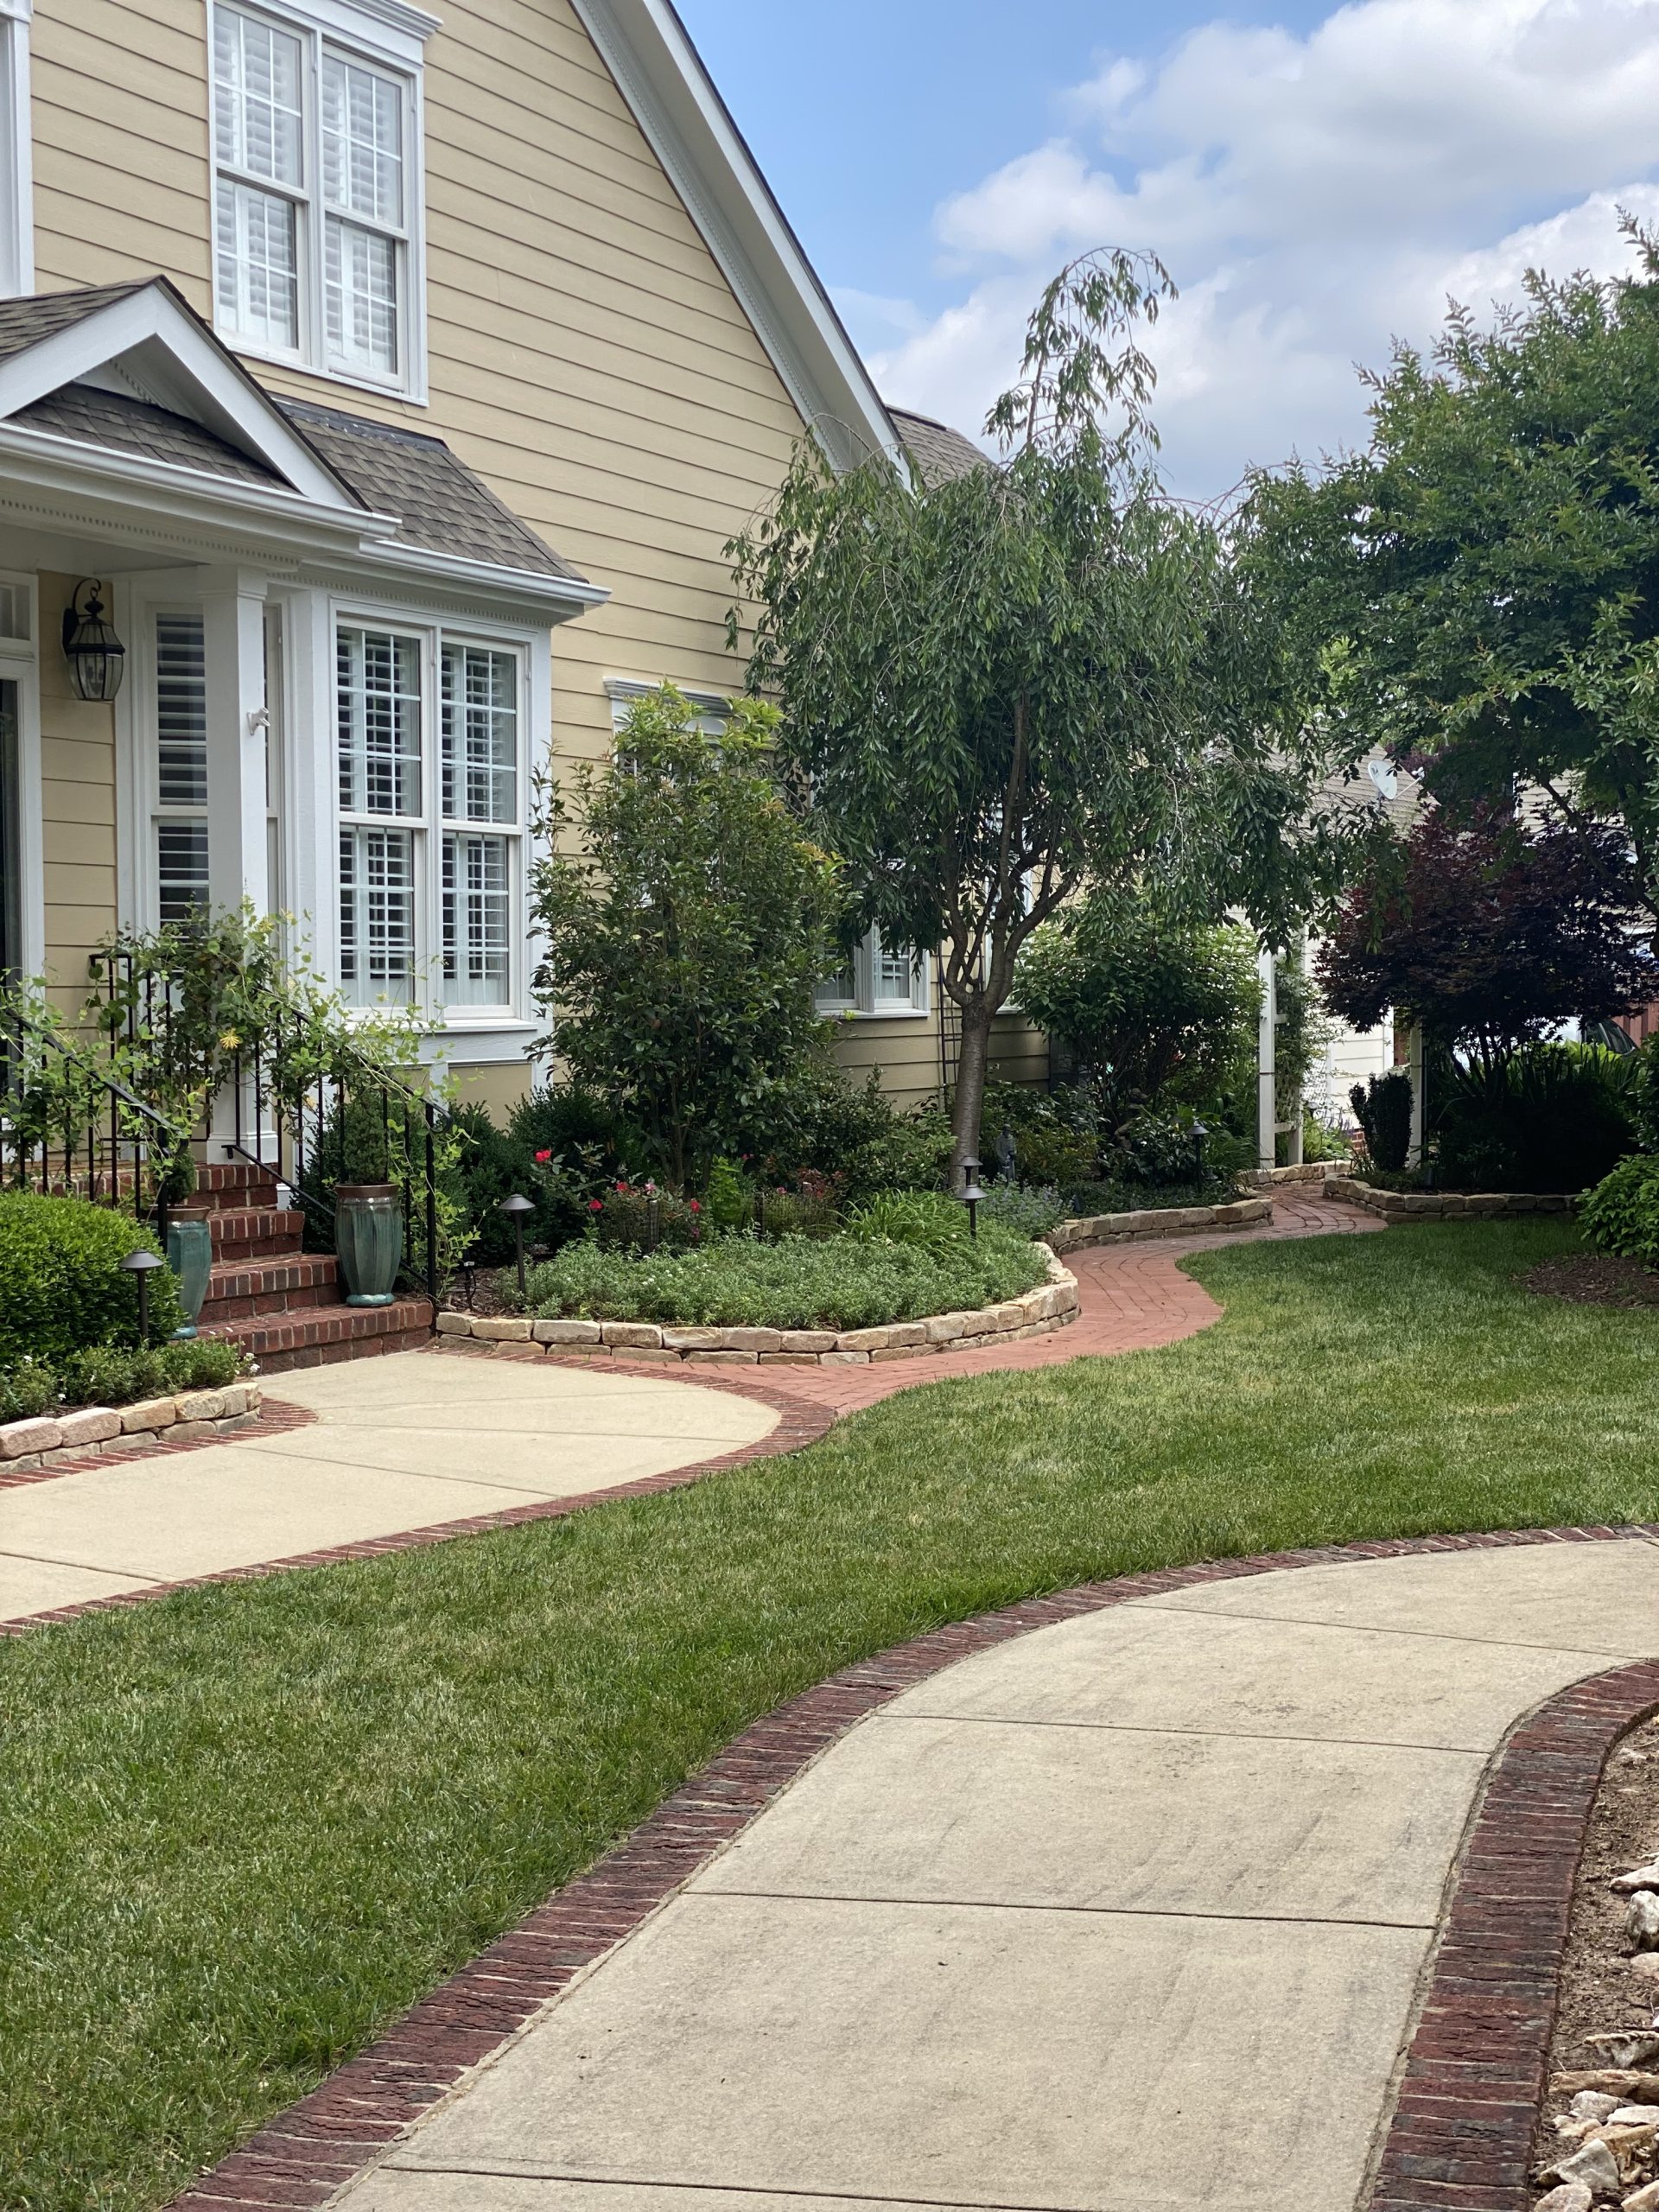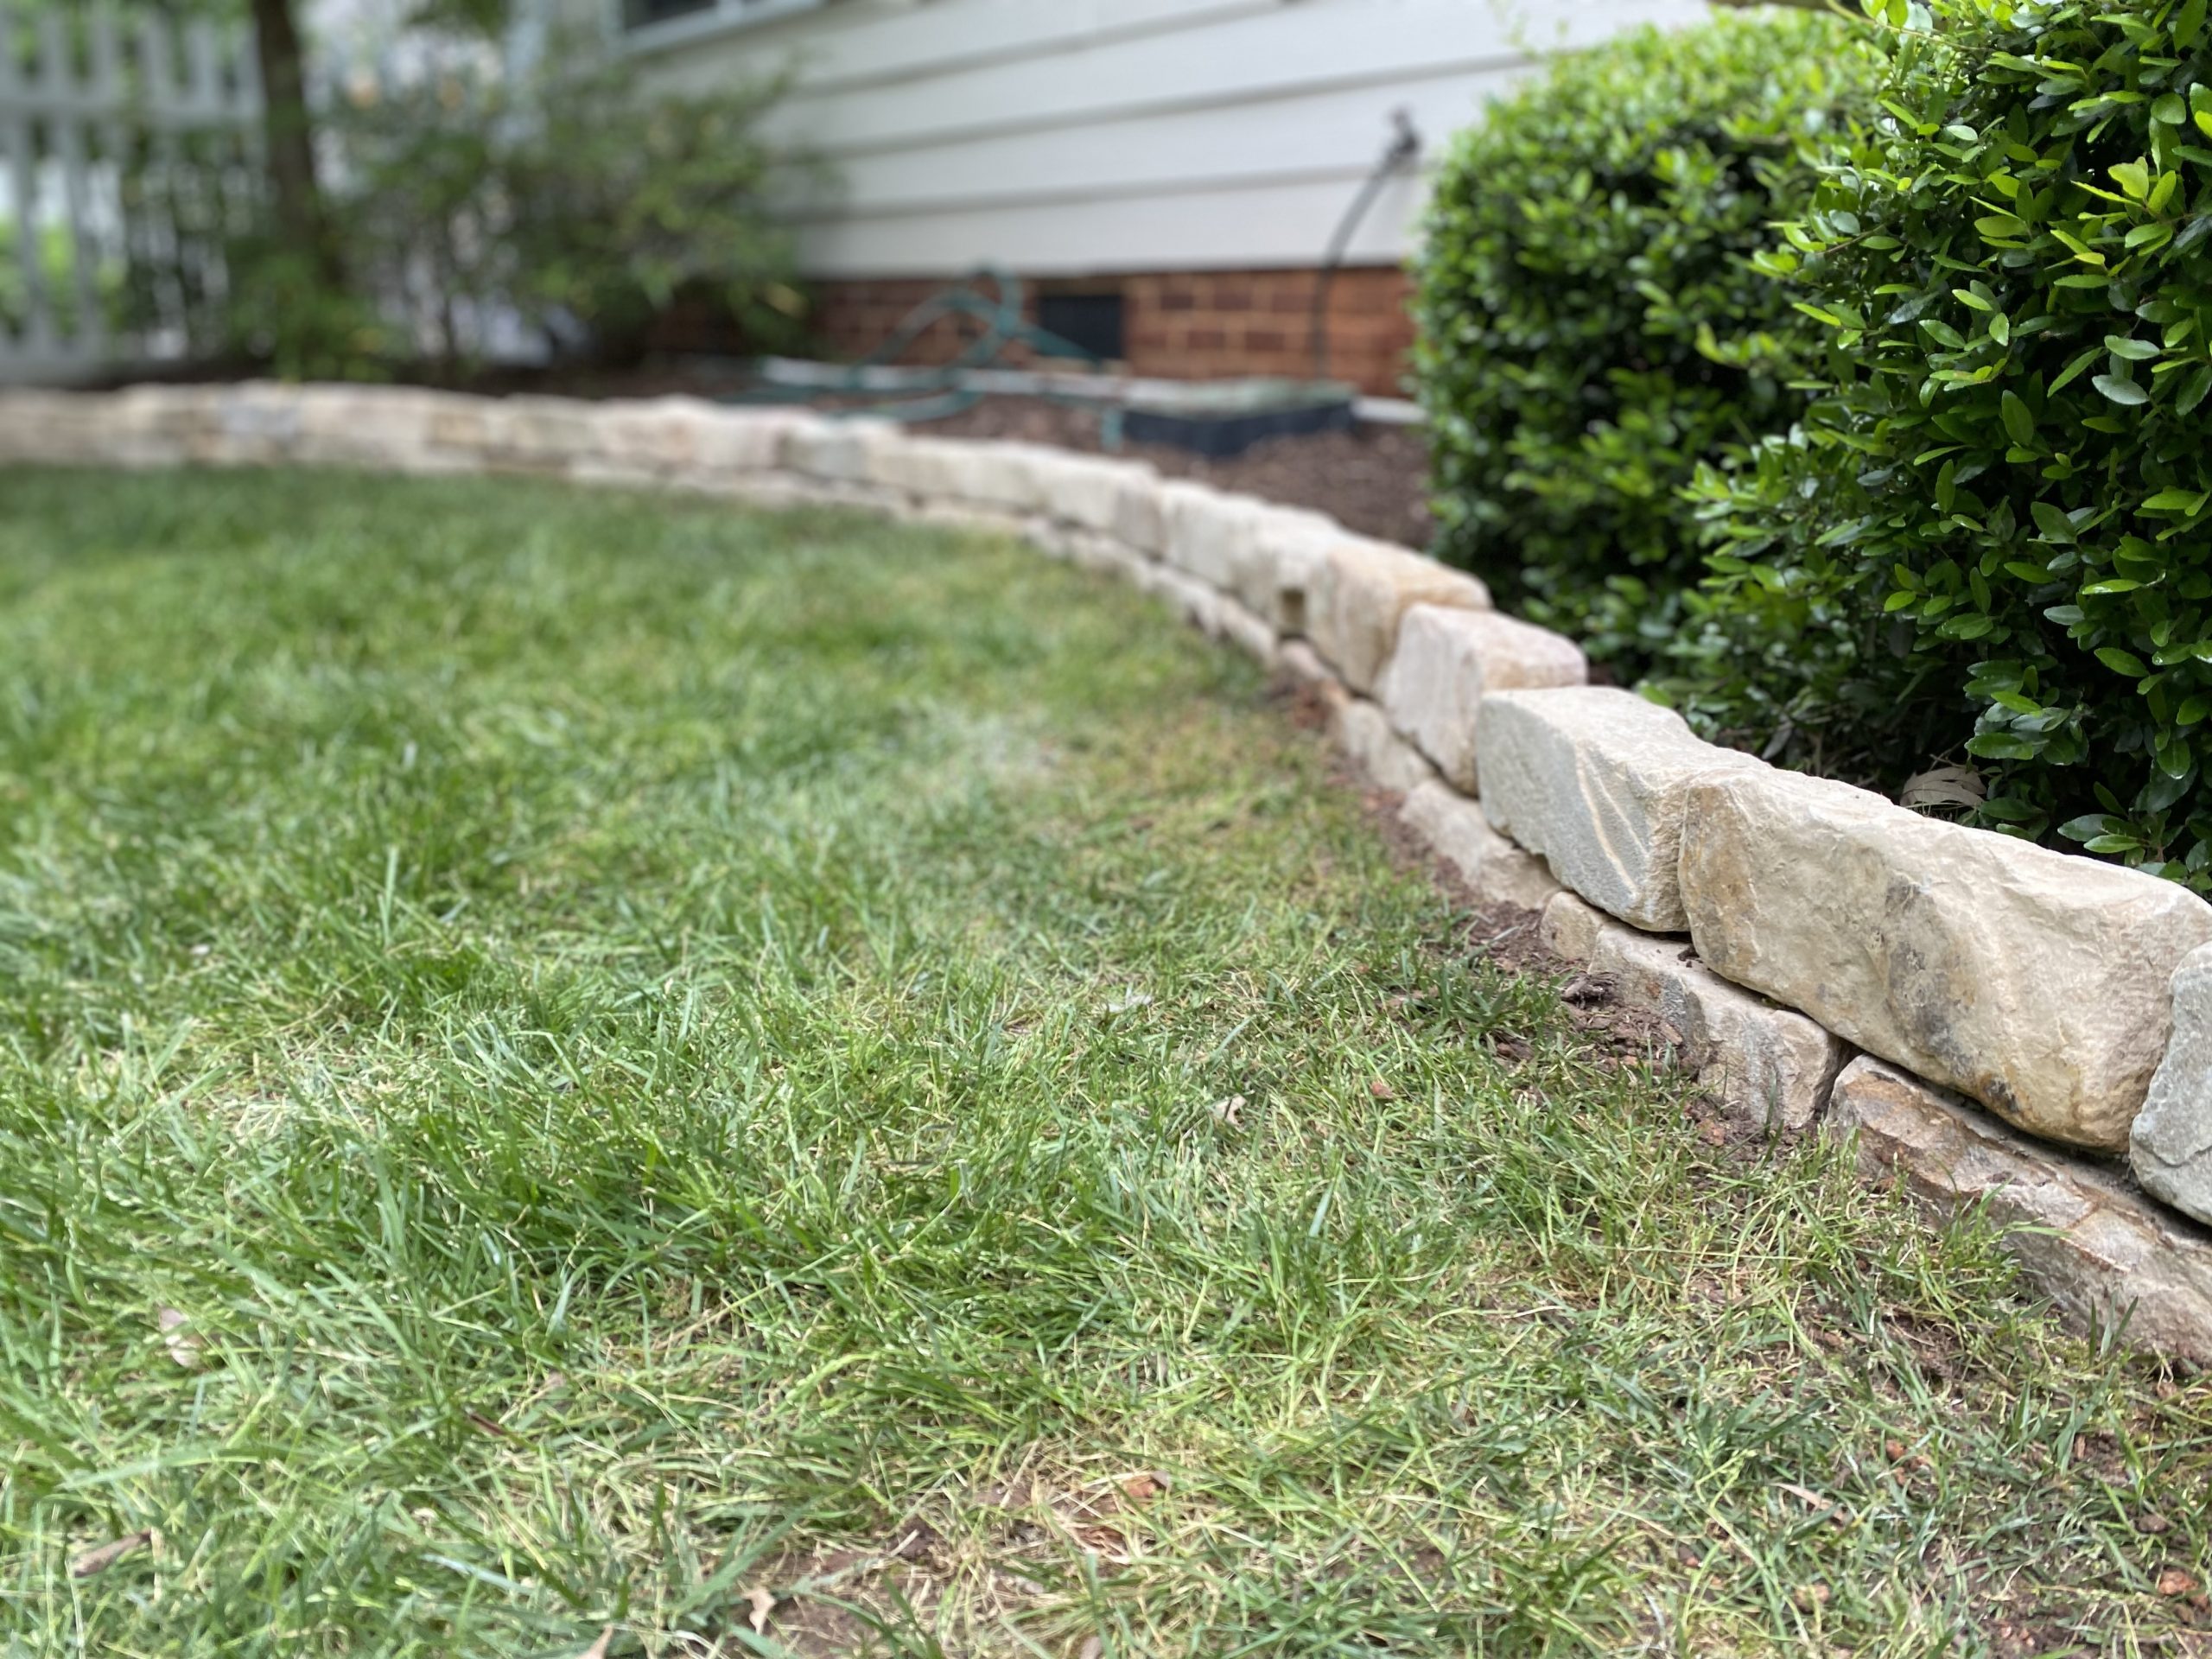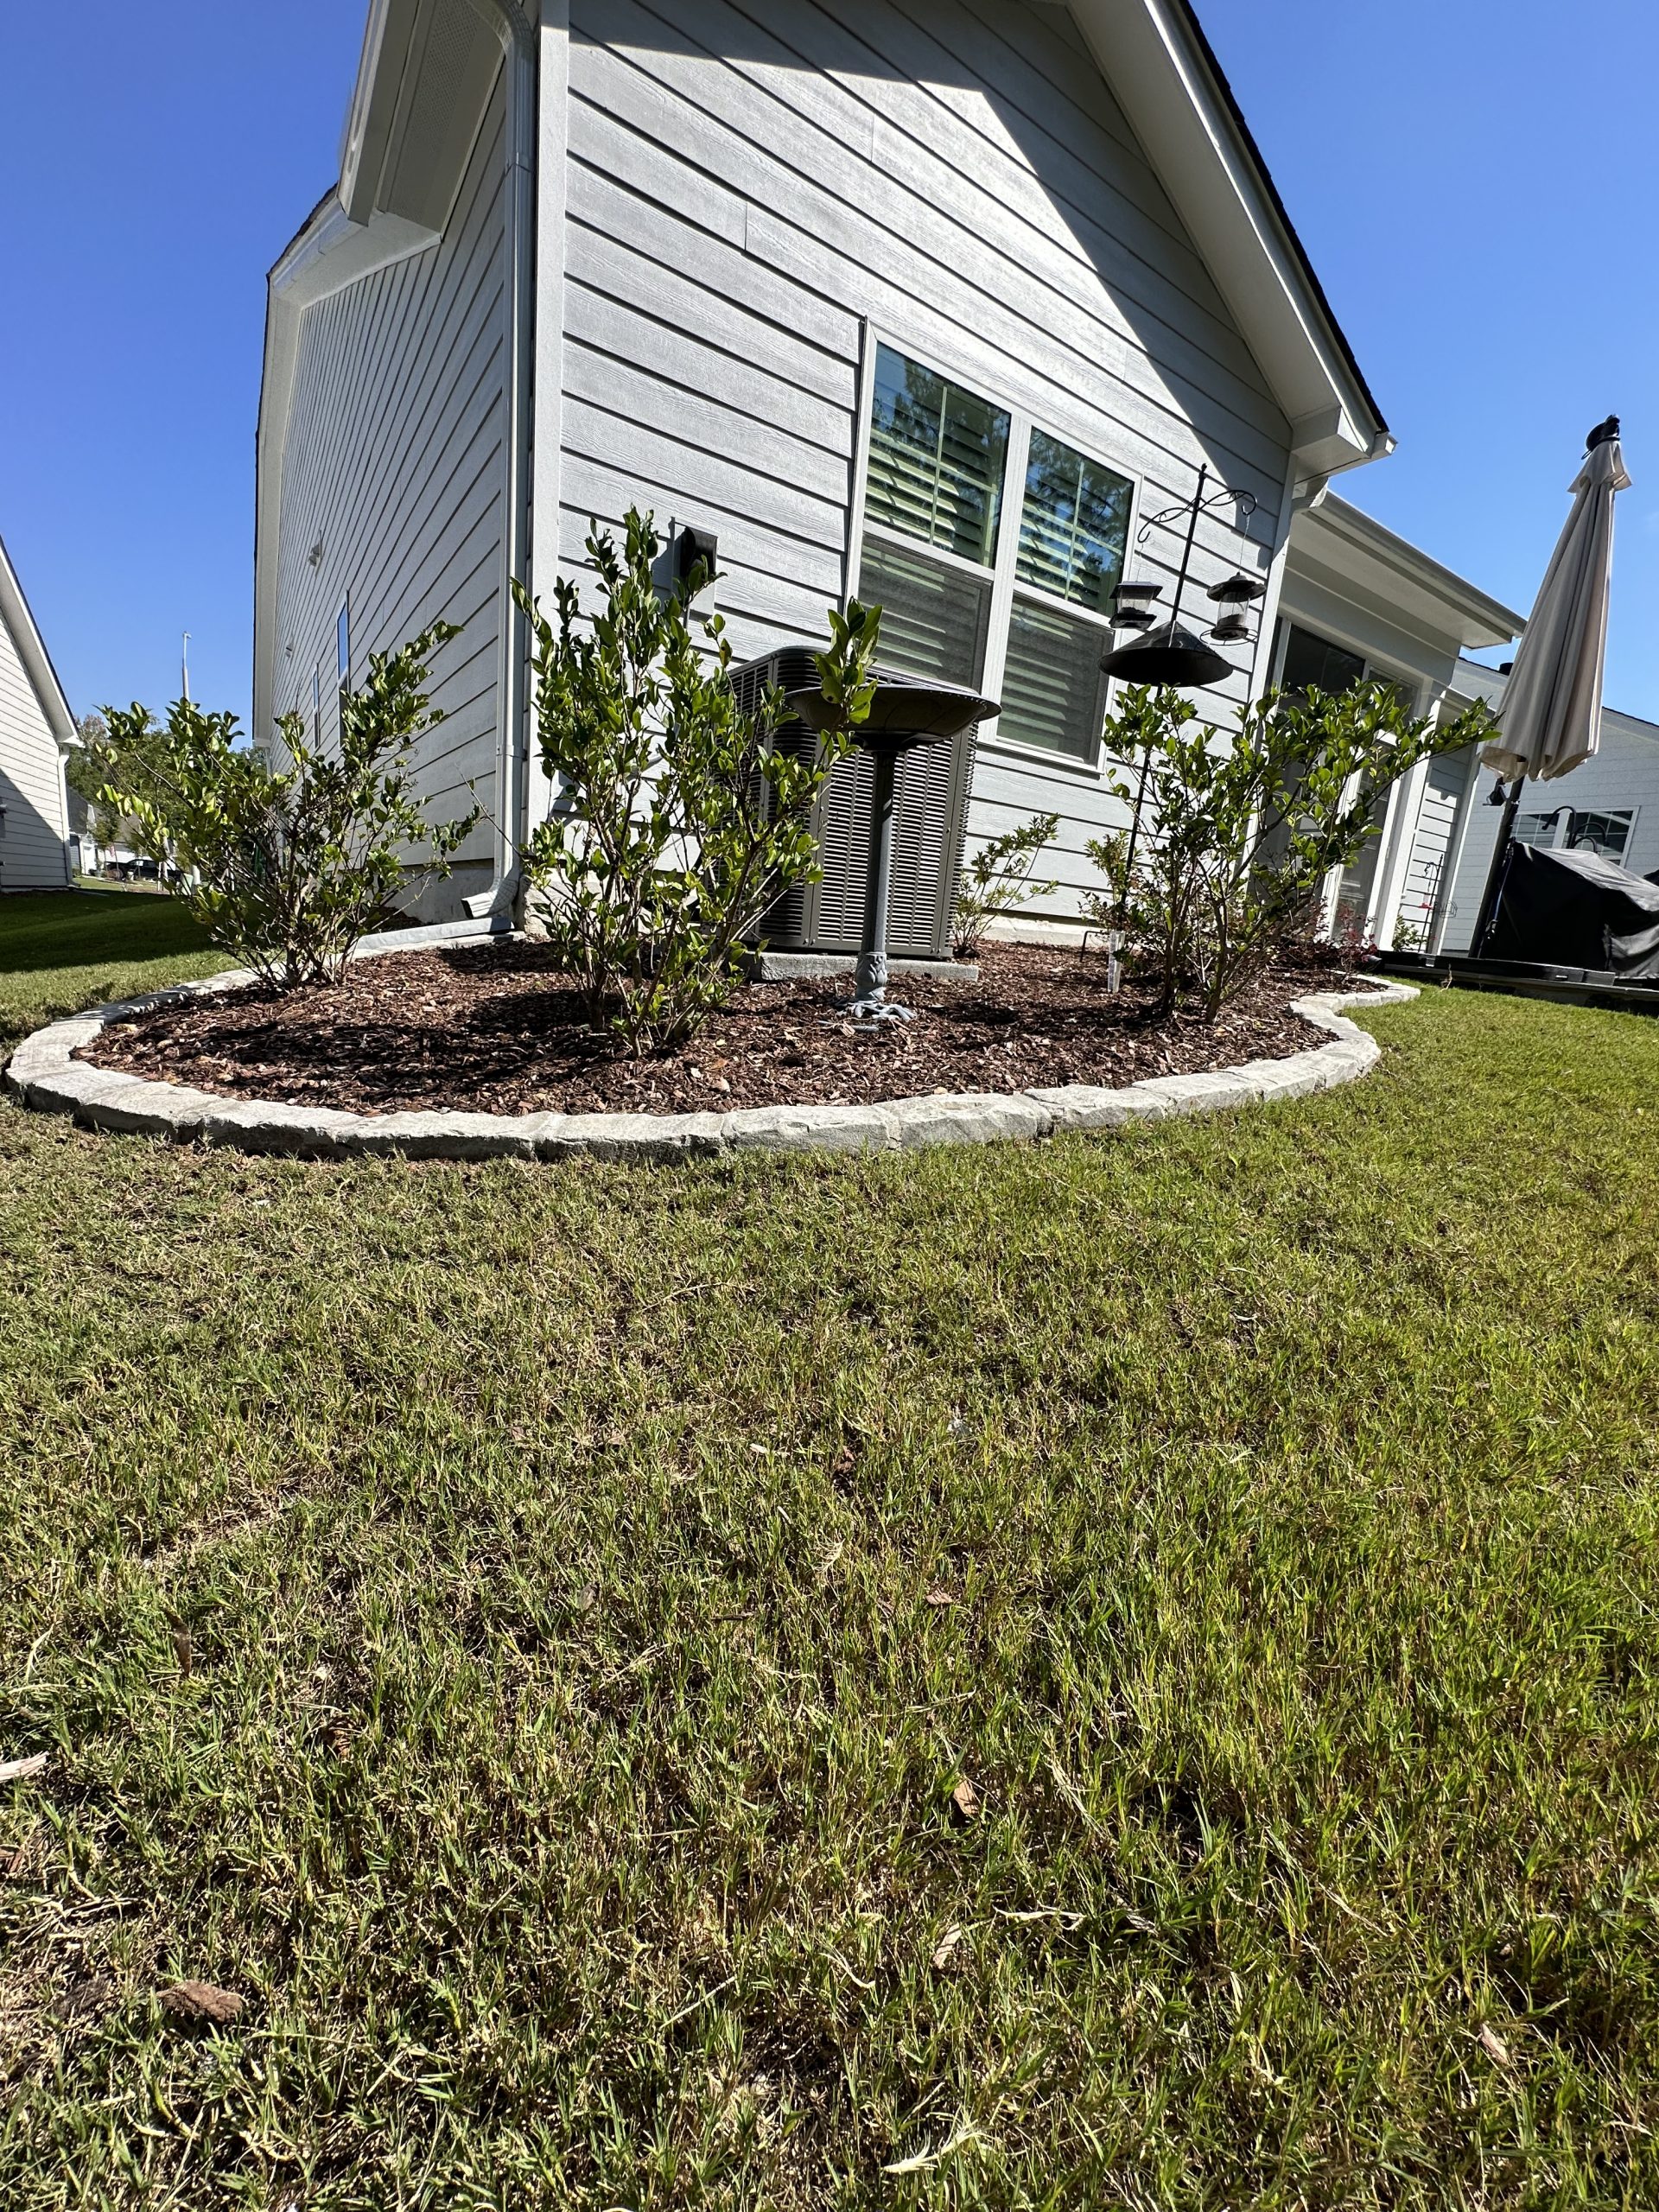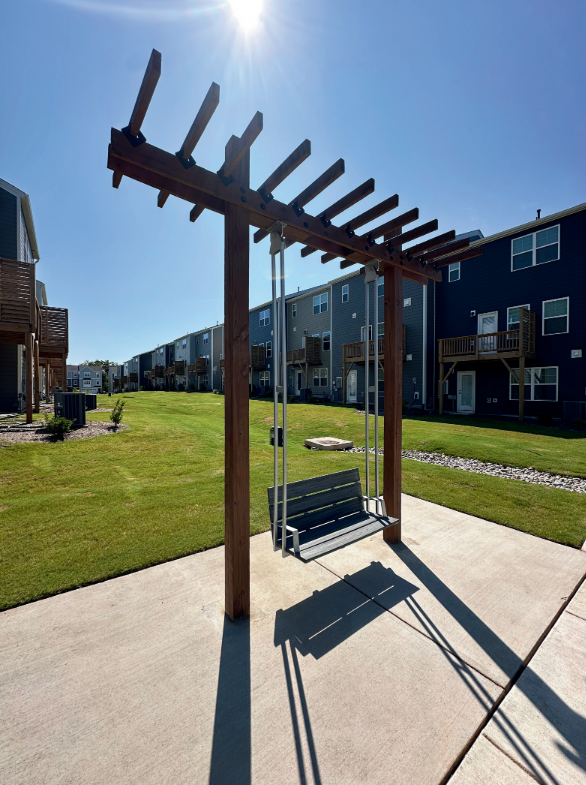

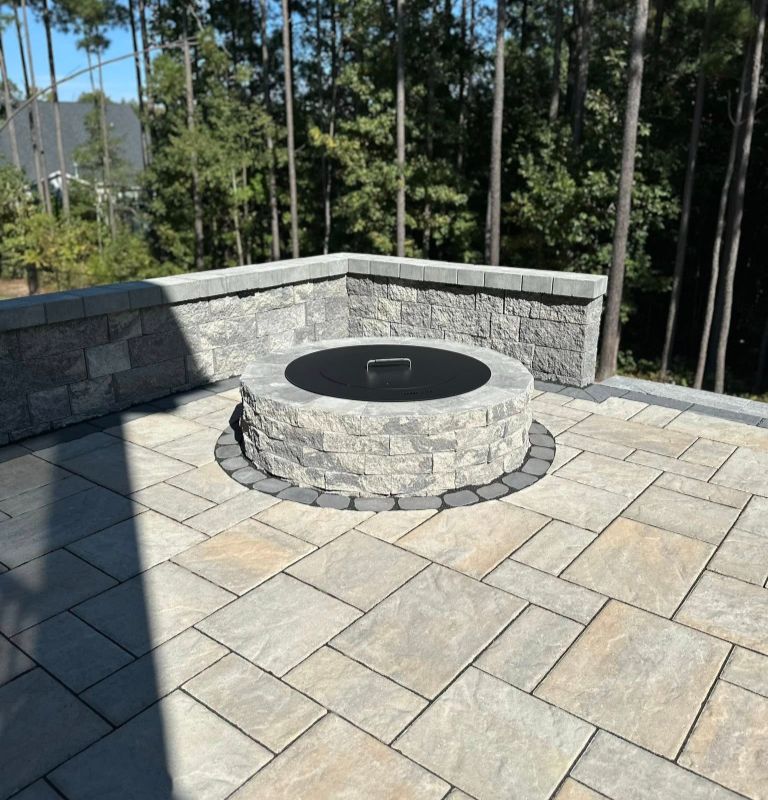
How to Maintain a Paver Patio After Installation So the dust has settled, the crew has packed up, and you’re standing in your backyard looking at a brand-new paver patio. It looks fantastic—but here’s the thing nobody tells you at handoff: How well that patio holds up in five, ten, or twenty years has a lot to do with what you do (or don’t do) after the paver patio install is finished. The good news? Maintaining a paver patio isn’t complicated. It’s mostly small, occasional tasks rather than a big weekend project. Below is a practical, no-nonsense guide to keeping your patio looking sharp and performing the way it should. Give It Time to Settle First Right after a paver patio install, the base and joint sand are still settling into place. It’s normal to see a little bit of shifting or minor unevenness in the first few weeks, especially after a heavy rain. Avoid parking anything heavy on it or dragging furniture with sharp feet across the surface until it’s had a chance to firm up. Most installers will tell you to give it a few weeks before treating it like a fully “broken in” space. Sweep Regularly and Rinse When Needed This one sounds almost too simple, but it matters. Leaves, dirt, and organic debris trap moisture against the pavers and can encourage moss, algae, or weed growth in the joints. A quick sweep every week or two, plus an occasional rinse with a garden hose, keeps things from building up. Avoid a high-pressure setting on a power washer directly on the joints—it’s a fast way to blast out the sand that’s holding everything together. Keep an Eye on the Joint Sand Whether your installer used regular jointing sand or polymeric sand, it will wear down over time from rain, foot traffic, and general weather exposure. Once you start seeing gaps between pavers or sand visibly missing, it’s time to refill. Left unaddressed, open joints let weeds take root and allow individual pavers to shift or wobble. Topping off joint sand every year or two is one of the single most effective things you can do for long-term durability. Deal With Weeds Early Even with a properly installed base and polymeric sand, the occasional weed can find its way into a joint. Pull them as soon as you see them, before the root system has a chance to establish. A quick pass with a joint brush or a targeted spot treatment is usually all it takes—there’s rarely a need for anything aggressive if you stay on top of it. Watch for Staining Oil, grease, wine, rust from patio furniture—pavers are porous, so spills should be cleaned up sooner rather than later. Blot (don’t rub) liquid spills, and use a mild soap and water solution for most stains. For tougher marks, there are paver-safe cleaners designed specifically for this that won’t damage the surface or affect the color. Reseal on a Schedule If your paver patio was sealed at installation, that seal isn’t permanent—it typically needs to be reapplied every two to three years, depending on the sealant type and how much sun and traffic the patio gets. Sealing does more than make the surface look richer; it helps protect against stains, UV fading, and joint sand erosion. If water starts soaking in instead of beading on the surface, that’s usually your sign it’s time to reseal. Check for Movement or Low Spots Every so often—maybe once a season—walk the patio and look for any pavers that feel loose, rock underfoot, or sit noticeably lower than their neighbors. This can happen if water has found its way under the base in one spot. Catching it early usually means a simple fix: lifting a few pavers, adjusting the base material, and resetting them. Ignore it, and the problem tends to spread. Mind What You Put on It Paver patios are durable, but that doesn’t mean bulletproof. Be thoughtful about heavy loads like hot tubs or large planters left in one spot for years—they can compact the base unevenly underneath. Furniture with wide, flat feet or protective pads is easier on the surface than narrow metal legs. Conclusion A quality paver patio install sets the foundation, but a little routine upkeep is what keeps that investment looking and performing its best for decades. None of this requires special tools or a ton of time—just a bit of attention throughout the year. Stay ahead of joint sand, weeds, stains, and drainage, and your patio will reward you with a lot of good seasons outside. If you’re not sure whether your existing patio needs a refresh, a resand, or a full inspection, it’s worth having a professional take a look before small issues turn into bigger repairs. And if you’re still in the planning stages, working with a team experienced in paver patio installation in Raleigh from the start makes long-term maintenance a lot easier down the road.
Water Feature Installation on Sloped Yards: Challenges and Solutions
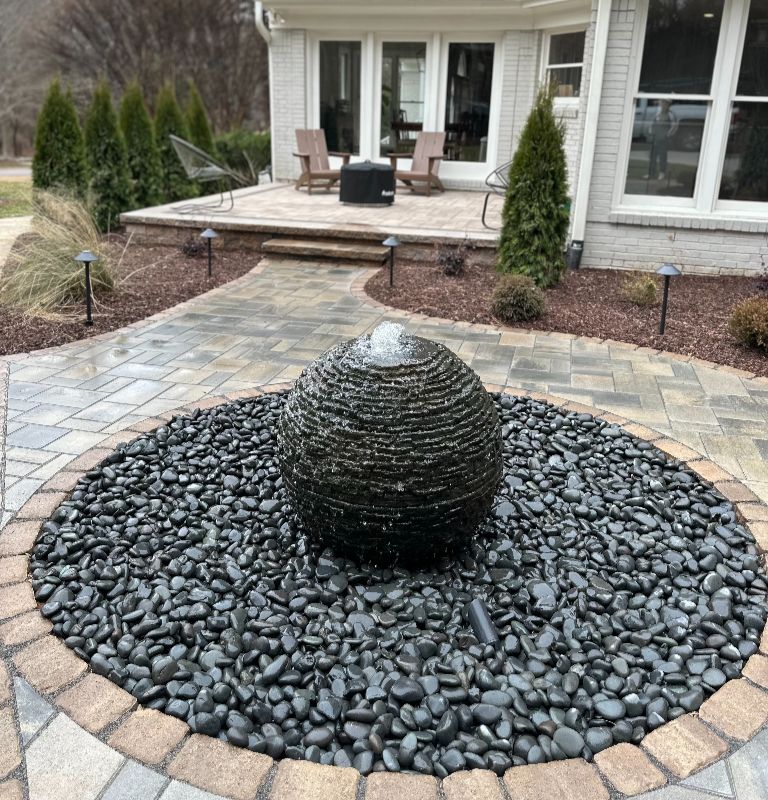
Water Feature Installation on Sloped Yards: Challenges and Solutions If your backyard isn’t flat, you’re not alone. A lot of homes around Durham and the rest of the Triangle sit on lots with some grade to them, whether it’s a gentle slope down toward the back fence or a steeper drop-off that makes mowing the lawn feel like a workout. The good news? A sloped yard isn’t a problem when it comes to installing a water feature. In a lot of ways, it’s actually an advantage. Gravity does some of the work for you, and a slope can be the perfect setup for a natural-looking waterfall or stream that would be tough to pull off on flat ground. That said, sloped yards do come with their own set of challenges, and if they’re not handled right during water feature installation, you can end up with erosion, drainage problems, or a feature that just doesn’t look right sitting on the land. Here’s what we run into most often, and how we work around it. Challenge #1: Water Runoff and Erosion The biggest concern with any sloped yard project is water movement — and not just the water inside your feature. Rain runoff naturally follows the grade of your yard, and if a water feature is installed without accounting for that, you can end up with soil washing away around the base, mulch beds getting stripped, or water pooling somewhere you don’t want it. How we handle it: Before any digging happens, we look at how water already moves across your property during a heavy rain. That tells us where to place drainage, whether we need a French drain or a swale nearby, and how to grade the surrounding soil so runoff gets directed away from the structure instead of undermining it. Challenge #2: Uneven Ground Makes Structural Stability Tricky On flat ground, building a stable base for a pond or waterfall is fairly straightforward. On a slope, the ground itself is working against you a little. Loose or improperly compacted soil on an incline is more prone to shifting over time, which can crack liners, throw off the level of a pond edge, or cause stone work to settle unevenly. How we handle it: We terrace and compact the base in sections rather than trying to grade the whole slope at once. This gives each section of the feature — the upper basin, the waterfall steps, the lower pond — its own solid footing. We also use retaining elements where needed to hold soil in place long after installation is done. Challenge #3: Getting the Water Flow to Look Natural A slope gives you a head start on gravity-fed water flow, but that doesn’t mean it automatically looks good. Water moving too fast down a steep grade can look more like a drainage ditch than a waterfall. Too slow, and it can look stagnant or awkward against the terrain. How we handle it: This comes down to how we shape the waterfall steps and where we place rock to control the pace and sound of the water. Smaller drops with wider basins slow the water down and create that natural, layered look. We also adjust pump size and flow rate specifically for the grade of your yard, since a pump that works fine on flat ground can push water too aggressively down a slope. Challenge #4: Access for Equipment and Materials Steeper yards can be harder to get equipment into, especially if the slope leads down from a driveway or side yard with limited access points. This affects both how the site gets excavated and how heavy stone and materials get moved into place during water feature installation. How we handle it: We plan equipment access and material staging before the project starts, not during it. Sometimes that means smaller machinery, sometimes it means moving stone by hand in stages. Either way, it’s mapped out ahead of time so it doesn’t slow down your project or tear up the rest of your yard getting materials where they need to go. Challenge #5: Long-Term Maintenance on a Slope Even after installation, a sloped water feature needs to be built with maintenance in mind. Debris and sediment tend to collect more in certain spots on a graded yard, and skimmers or filtration need to be placed where they’ll actually catch what’s coming downhill. How we handle it: We position skimmers, filters, and overflow drains based on how water and debris naturally travel down your specific slope, not just where they’d go in a standard flat-yard layout. It’s a small detail, but it makes a real difference in how much upkeep the feature needs down the road. The Upside of a Sloped Yard It’s worth saying — a slope isn’t something to work around begrudgingly. Some of the best-looking waterfalls and streams we’ve built have come from yards with real elevation change. A slope gives water somewhere to go, which means more movement, more sound, and a more natural feel than you often get on flat terrain. With the right grading, drainage, and structural planning, a sloped backyard can actually make for a more impressive water feature than a flat one would. Conclusion A sloped yard shouldn’t hold you back from having the backyard water feature you’ve been picturing. The key is working with a team that plans for the slope from day one instead of treating it as an obstacle to fight through. From proper drainage and soil compaction to getting the water flow to look and sound natural, every detail matters more when there’s elevation involved — which is exactly why experience with water feature installation on real, imperfect terrain makes such a difference. If you’re in Durham or anywhere else in the Triangle and thinking about adding a water feature to a yard that isn’t perfectly flat, we’d love to help you figure out what’s possible. Our Water Feature Services in Durham, NC are built around real North Carolina yards
What Is the Difference Between a Pergola and a Gazebo?
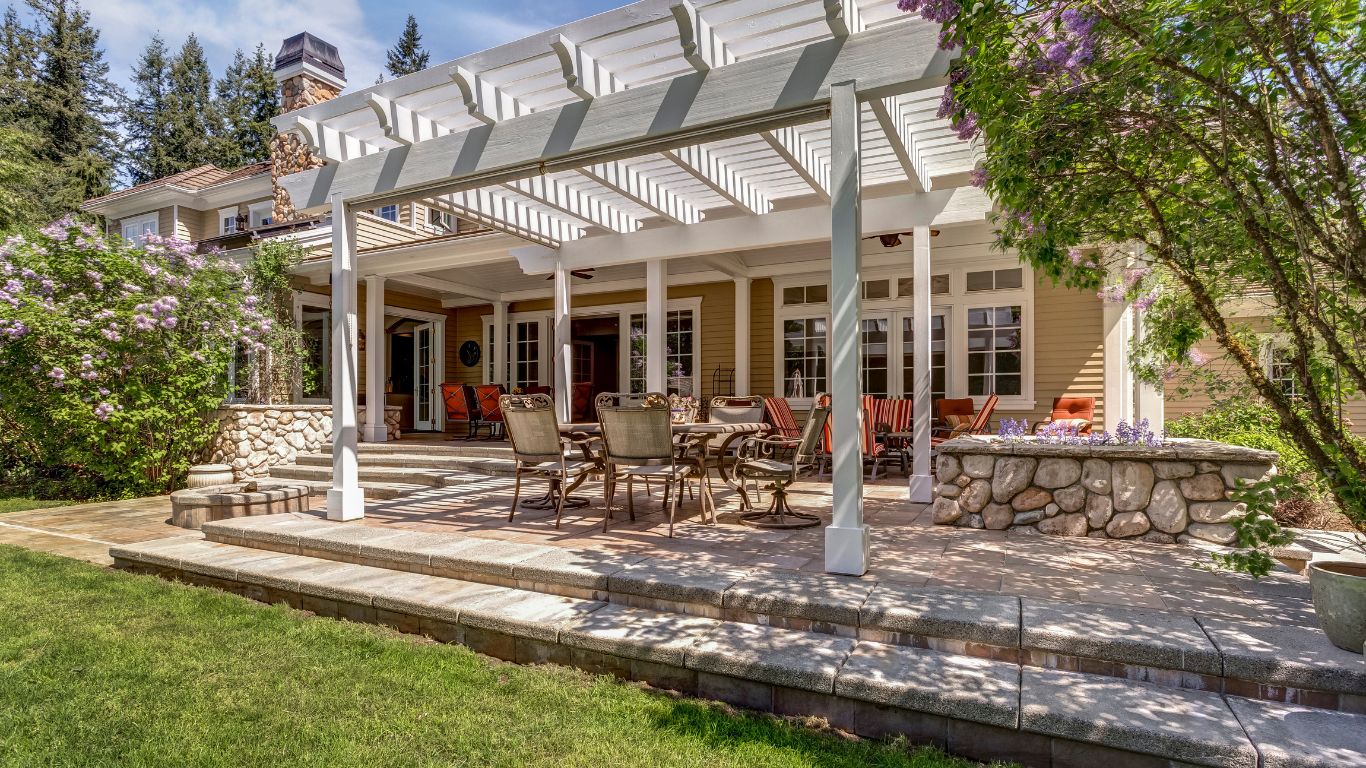
What Is the Difference Between a Pergola and a Gazebo? When planning an outdoor living space, homeowners often compare pergolas and gazebos. Both can add beauty, shade, and functionality to a backyard, but they are designed differently. The main differences come down to the roof, amount of shade, weather protection, placement, and how the space is used. Understanding these differences can help you choose the right option for your home. What Is a Pergola? A pergola is an open structure — posts holding up a roof made of beams, with gaps in between. That open roof is really the whole point of it. Because the roof isn’t solid, sunlight and air pass right through. You still get shade, but it’s light and patchy, not a full block-out. The space stays open and connected to the outdoors. You’ll usually see pergolas built over a patio, a dining area, a sitting space, or even an outdoor kitchen. Sometimes they stand on their own, but more often they’re added on top of a space you’re already using. This is usually the question people are trying to answer when they compare a pergola to a gazebo. Both can add beauty and shade to a yard, but they go about it differently — the roof, the amount of shade, how they hold up in weather, where they go, and how you use them all vary. Knowing this ahead of time makes the choice a lot easier. What Is a Gazebo? A gazebo is usually a freestanding structure with a solid roof and posts holding it up. Unlike a pergola, it actually covers you — no gaps, no filtered light. They come in different shapes. Older, traditional ones are often round or eight-sided. Newer gazebos might be simple rectangles or something custom-built to match the house. Because the roof is solid, a gazebo feels more closed-in and protected. That makes it a good spot for dinners, relaxing, hosting people, or just having a quiet place to sit that’s fully your own. The Main Difference It really comes down to the roof. A pergola has an open or slatted roof, so light and air pass through. A gazebo has a solid roof, which gives you more shade and better protection overall. That difference changes how each space feels too. A pergola feels open and breezy. A gazebo feels more closed-off and private. Shade and Weather A pergola gives you partial shade, and since light comes through the open roof, the amount of shade changes as the sun moves during the day. A gazebo gives you more even, consistent shade because the roof is solid. Same goes for weather. A pergola won’t do much if it rains. A gazebo holds up better against both sun and a light shower. So if you like an open feel, go with a pergola. If you want more coverage, a gazebo is the better pick. Looks Pergolas have a simple, open look. The beams and rafters tend to blend in nicely with patios, gardens, and decks rather than standing out. Gazebos have more presence. Because of the solid roof and clear shape, they often become the main thing your eye lands on in the yard. Which one looks better really depends on your home’s style and what kind of look you’re going for. Where They Usually Go Pergolas are usually built over something that’s already there — a patio, a seating area, a dining spot, an outdoor kitchen. They help mark out different parts of the yard without cutting them off from each other. Gazebos are more often freestanding. People tend to put them near a garden, a pool, or off in another part of the yard where they want a separate little getaway. Either one can be built to fit however your yard is laid out. Which Is Better for Hosting People? Both work fine for entertaining, honestly. A pergola keeps things open, so people can move easily between the covered spot and the rest of the yard. A gazebo gives you a more defined space, with full coverage overhead. If you want things to feel open and connected, go with a pergola. If you’d rather have a more sheltered space, a gazebo is probably the better fit. So Which One Should You Pick? It depends on what you actually want out of the space. A pergola makes sense if you want: A gazebo makes sense if you want: Think about the size of your yard, the style of your home, and how you’ll actually use the space before deciding. Frequently Asked Questions Is a pergola the same as a gazebo? No. A pergola usually has an open roof and gives partial shade. A gazebo has a solid roof and gives full coverage. Which one gives more shade? A gazebo, since the solid roof blocks the sun completely. A pergola lets some light through no matter what. Is a gazebo better in the rain? Usually, yes. Just know that an open-sided gazebo still won’t keep you fully dry in a real storm. Can I eat outside under a pergola? Yes, definitely. Pergolas are a popular choice for outdoor dining because they keep the space open and comfortable. Can a gazebo be customized? Yes. You can change the size, shape, materials, roof style, and where it’s placed to match your property. Conclusion The main difference between a pergola and a gazebo is the roof and how much coverage it gives you. A pergola keeps things open and airy with some shade. A gazebo gives you more shade and better protection with its solid roof. Think about how you plan to use your backyard, how much shade you actually need, and whether you’d rather have an open space or a sheltered one. If you’re thinking about adding a gazebo to your property, working with a team that knows outdoor design can help make sure it actually fits your space and how you live. If you’re searching for the best gazebo contractors in
How to Plan an Outdoor Living Space: A Practical Guide
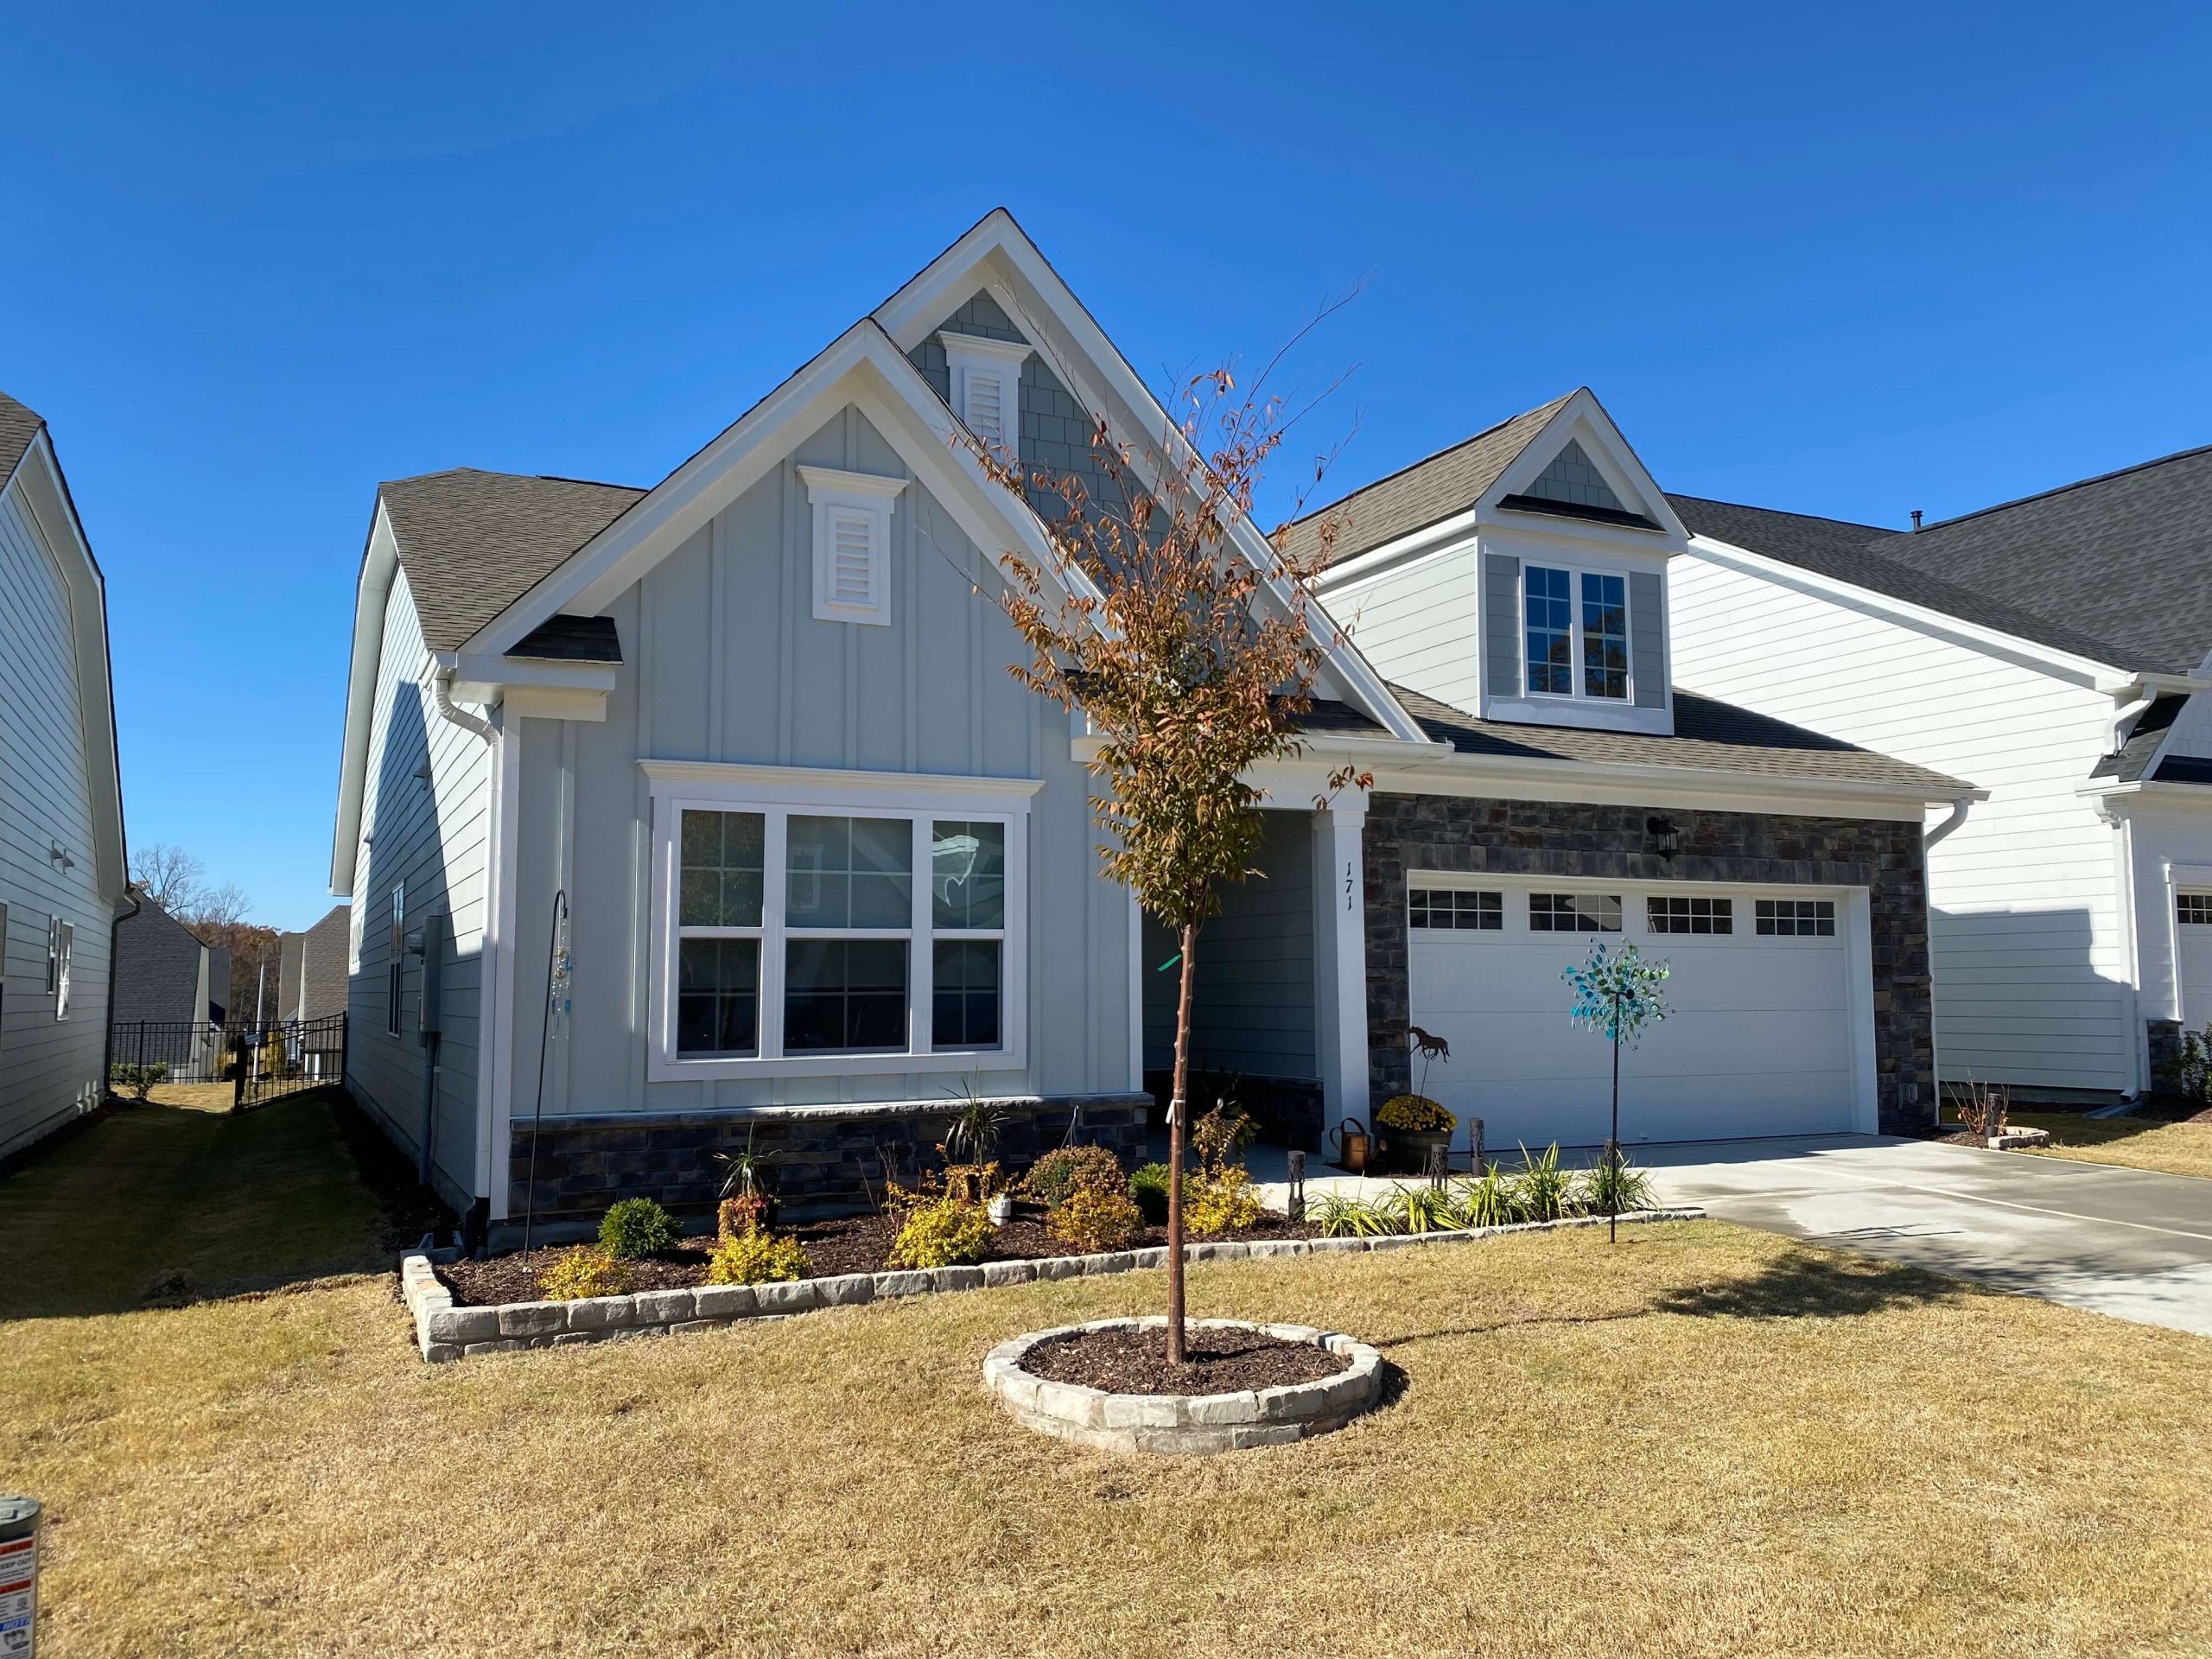
How to Plan an Outdoor Living Space: A Practical Guide An ideal outdoor living area helps transform the average garden into a real territory for active recreation. Depending on your needs, outdoor design gives an opportunity to plan a place where you can enjoy meals with family, invite friends, relax after a long day, or just utilize your backyard as efficiently as possible. Planning an outdoor living area is more than simply establishing a patio or placing outdoor furniture and a fireplace there. One has to analyze how the area is to be used, how people are to move there, how much shade or privacy you need, and how the elements of the area are going to work together. If you’re wondering how to plan an outdoor living space, start with these practical steps. 1. Determine how you want to use the area Before selecting any materials or outdoor structures, ask yourself how you want to use the area. Do you want to have dinner outside? Do you need a comfy place to relax? Or do you need somewhere to have fun with your guests? Also, you may want a barbecue spot, or a poolside For example, a family that likes eating outside may need a big dining area, while those who enjoy hosting guests may want more seating and room to gather. You don’t have to create a separate space for every activity. The most important thing is to analyze the activities that matter most to you before creating the layout. 2. Evaluate Your Backyard Take a good look at your property before deciding where anything should go. Start with the size and shape of the available space. Then identify existing patios, decks, walkways, trees, fences, gardens, and other features that will affect the design. Pay attention to conditions that can easily be overlooked. Where does the sun hit throughout the day? Which areas stay shaded? Is there a lot of wind? Are there parts of the yard where water collects after rain? Do you need more privacy from neighboring properties? Also look at how the backyard connects to your home. A space directly outside the kitchen may be ideal for dining or outdoor cooking, while another part of the yard may work better as a quiet seating area. 3. Create Functional Outdoor Zones One of the easiest ways to organize an outdoor living space is to divide it into zones. Instead of treating the backyard as one large area, give different sections a purpose. Seating and Lounge Area Create a comfortable area for conversation and relaxation with outdoor sofas, chairs, benches, or lounge furniture. Leave enough room around the furniture so people can move comfortably. Dining Area If you enjoy outdoor meals, create a dedicated dining area. Choose a table that fits the number of people who will normally use it and leave enough space for chairs to be pulled out easily. Outdoor Cooking Area Your cooking area could be as simple as a grill or as extensive as a complete outdoor kitchen. Depending on your needs, you may include counter space, storage, a sink, refrigerator, or bar seating. Gathering or Fire Feature Area A fire pit or outdoor fireplace can provide a natural focal point for evening gatherings. Make sure there is comfortable seating around it without interfering with other areas of the yard. The goal isn’t to create as many zones as possible. It’s to create the right zones for the way you use your backyard. 4. Plan Traffic Flow Once you know where the different zones will be, think about how people will move between them. Imagine walking from your kitchen to the outdoor dining area with a plate of food. Is the route easy? Can guests move from the seating area to the yard without walking through the cooking space? Keep major pathways open and avoid putting large furniture or structures where they will interrupt movement. Good traffic flow often goes unnoticed because it simply feels natural. Poor traffic flow, on the other hand, can make even a beautiful outdoor space frustrating to use. 5. Plan for Sun, Shade, and Weather Outdoor comfort depends heavily on the conditions around your property. Pay attention to the sun at different times of day. A seating area that feels comfortable in the morning may become too hot later in the afternoon. Depending on your yard, shade can be provided by: Weather protection may also be important. If rain or strong sun frequently keeps you indoors, a covered area can make your outdoor living space much more useful. Plan shade and weather protection early rather than trying to add them after the rest of the project is complete. 6. Choose Hardscape Materials The patio, deck, walkway, or other hardscape creates the foundation for your outdoor living area. Common choices include concrete, pavers, natural stone, brick, tile, wood, and composite decking. Don’t choose a material based only on how it looks. Think about how the area will be used, how much maintenance you’re comfortable with, and how well the material works with your home. The hardscape should also provide a visual connection between the house and the backyard. Coordinating colors, textures, or materials can make the entire property feel more cohesive. 7. Choose Outdoor Furniture That Fits Furniture should fit the layout rather than dictate it. Measure your space before buying large pieces. A sectional that looks perfect in a showroom could overwhelm a small patio, while undersized furniture can make a large area feel empty. Depending on your needs, you might include: Choose furniture that is comfortable and appropriate for outdoor conditions. Also think about where cushions and accessories will be stored when they aren’t being used. Most importantly, don’t overcrowd the space. Leaving some open areas makes the backyard easier to navigate. 8. Add Outdoor Lighting Your outdoor living space can be just as useful in the evening as it is during the day. Outdoor lighting can improve visibility while creating a comfortable atmosphere. Different areas
How to Choose the Right Company for Paver Restoration in Cary
How to Choose the Right Company for Paver Restoration in Cary, NC Pavers add significant value and aesthetic appeal to outdoor spaces in Cary, North Carolina. However, over time, even the most well-maintained pavers can start to show signs of wear and tear. When this happens, paver restoration becomes essential to bring your patio, walkway, or driveway back to life. But finding the right company to handle your paver restoration project in Cary, NC is crucial to ensuring a high-quality, lasting result. Here’s how you can choose the best paver restoration company in Cary.Browse Around This Site Research Paver Restoration Companies in Cary, NC Review Online Reviews and Ratings for Cary Paver Restoration When searching for a reputable paver restoration company in Cary, NC, a good place to start is by reading online reviews and checking ratings. Websites like Google, Yelp, and Angie’s List provide customer feedback that can give you an idea of what to expect from different companies. Focus on reviews that specifically mention paver restoration projects in Cary. Look for patterns in customer feedback regarding the quality of work, timeliness, and professionalism. A company with consistently positive reviews from Cary residents is likely to be a reliable choice. Gather Local Recommendations for Paver Restoration in Cary In addition to online research, personal recommendations are invaluable. Ask your neighbors, friends, or family inCaryif they’ve had any paver restoration work done and which company they used. Local community groups, whether online or in person, can also be a great resource for finding trusted paver restoration experts inCary, NC. Recommendations from people you trust can lead you to companies that have already proven themselves in your community. Evaluate Experience and Expertise in Cary, NC Paver Restoration Choose Experienced Paver Restoration Professionals in Cary Experience is a key factor when selecting a paver restoration company. Companies that have been operating in Cary, NC for many years are likely to have a deep understanding of the local environment and how it affects pavers. These professionals know how to handle the specific challenges posed by Cary’s climate, soil conditions, and other factors. An experienced company will also have a track record of successful paver restoration projects in the Cary area, giving you confidence in their ability to deliver high-quality results. Ensure Specialization in Paver Restoration Services Not all landscaping or general construction companies specialize in paver restoration. To get the best results, choose a company inCarythat focuses specifically on restoring pavers. Specialists in paver restoration will have the right tools, techniques, and knowledge to address the unique needs of your project. When evaluating companies, ask about their primary services and ensure that paver restoration is a core part of their business. This specialization is crucial for ensuring that your pavers are restored to their full potential. Review Past Paver Restoration Projects in Cary, NC A company’s portfolio can provide valuable insights into their capabilities. Ask to see examples of paver restoration projects they’ve completed inCary, NC, or similar areas. Reviewing before-and-after photos of their work will give you a sense of their skill level and attention to detail. Pay close attention to how well the restored pavers match the original design and how effectively any damage was repaired. A strong portfolio of successful projects inCaryis a good indicator that the company can meet your expectations. Verify Credentials and Insurance for Paver Restoration in Cary, NC Check Licensing and Certifications in Cary, NC Before hiring a paver restoration company inCary, it’s essential to verify that they are properly licensed to operate in North Carolina. A valid license indicates that the company complies with local regulations and industry standards. Additionally, check if the company holds any certifications from recognized industry organizations, which can be a sign of their commitment to quality and professionalism. Proper licensing and certifications are crucial for ensuring that the company is qualified to handle your paver restoration project inCary. Ensure Adequate Insurance Coverage for Paver Restoration Insurance is a critical aspect of choosing a paver restoration company inCary, NC. Accidents can happen, even with experienced professionals, so it’s important to make sure the company you hire carries adequate liability insurance. This insurance protects both you and the workers on your property from potential financial losses if something goes wrong during the restoration process. Always ask for proof of insurance and make sure you understand what is covered. A reputable paver restoration company inCarywill have no problem providing this information. Request and Comparing Quotes for Paver Restoration in Cary, NC Obtain Detailed Quotes from Cary Paver Restoration Companies To ensure you’re getting a fair price for your paver restoration project inCary, NC, request detailed quotes from several local companies. A comprehensive quote should include all aspects of the project, such as labor, materials, and any additional services like sealing or joint stabilization. By comparing these quotes, you can get a clear picture of what each company offers and at what price. This allows you to make an informed decision based on the scope of work and the value you’re getting for your investment. Evaluate the Value of Paver Restoration Services in Cary When comparing quotes, it’s important to look beyond just the price. Consider the overall value you’re getting, including the quality of materials, the expertise of the workers, and the company’s reputation inCary. A lower price might be tempting, but it’s important to ensure that the company will deliver high-quality work that will stand the test of time. Sometimes, paying a bit more upfront can save you money in the long run by avoiding costly repairs or touch-ups. Assessing Communication and Customer Service in Cary Paver Restoration Evaluate Responsiveness and Professionalism How a company communicates can be a strong indicator of how they will manage your project. When you contact paver restoration companies inCary, NC, pay attention to how quickly they respond to your inquiries and how professionally they handle your questions. A company that values prompt and clear communication is more likely to be reliable and attentive throughout the

Pergola Installation: A Complete Guide to Choosing Materials, Design, and Costs
Pergola Installation: A Complete Guide Pergolas are one of the most versatile and stylish additions to any backyard. They provide shade, elevate your outdoor design, and create a functional gathering space. This guide covers everything you need to know about pergola installation, from material choices and design considerations to cost factors. Whether you’re exploring Outdoor Living Solutions North Carolina or seeking inspiration for a custom build, the right pergola can transform your outdoor living area. Why Pergolas Are Essential for Outdoor Living Spaces NC A pergola does more than just add shade; it becomes the centerpiece of your backyard design. People looking for Outdoor Living Spaces NC often choose pergolas because they: For those who want Custom Outdoor Living Design NC, a pergola offers endless possibilities in layout, materials, and finishes. Key Materials for Pergola Installation North Carolina Wood Pergolas: Timeless and Warm Wood remains a classic choice for Pergola Installation North Carolina because of its natural beauty. Cedar and redwood are especially popular thanks to their durability and resistance to weather. Pros: Cons: Vinyl Pergolas: Low Maintenance and Clean Look Vinyl pergolas are great for homeowners who want a sleek, modern design with little upkeep. Pros: Cons: Aluminum Pergolas: Durable and Modern For those looking into Outdoor Renovation Ideas North Carolina, aluminum is an attractive option. It combines modern aesthetics with long-lasting durability. Pros: Cons: Design Considerations for Custom Outdoor Living Design NC When planning a pergola, design is just as important as materials. Here are the top factors to consider: Size and Scale Your pergola should complement your outdoor space without overwhelming it. For smaller Outdoor Living Spaces NC, a compact design may be best. Roof Options Integration with Other Features Pergolas often pair beautifully with fire pits, outdoor kitchens, or even water features. Those considering Gazebo Construction North Carolina may even combine both for a multi-functional outdoor area. Cost Factors in Pergola Installation North Carolina The cost of pergola installation varies depending on: On average, pergola projects range from budget-friendly DIY kits to high-end Custom Outdoor Living Design NC builds. Best Outdoor Living Solutions NC: Offered By Us 👉 To see how pergolas, gazebos, and more can enhance your space, explore our professional services here: Outdoor Renovation Ideas North Carolina: Beyond Pergolas While pergolas are popular, homeowners also consider: These elements combine into the Best Outdoor Living Solutions NC, helping create outdoor areas that blend style with function. Conclusion: Elevate Your Outdoor Living Spaces NC Pergola installation is more than just adding shade, it’s about creating a lifestyle upgrade. From wood to aluminum, open beams to retractable roofs, pergolas bring elegance and function to your yard. If you’re searching for the Best Outdoor Living Solutions NC, look no further. At Comeyer, we specialize in turning ideas into reality through pergolas, gazebos, lighting, and more. 👉 Ready to upgrade your outdoor space? Visit Comeyer Outdoor Living today and explore how we can bring your vision to life.